If you want to play with HDMI signals or just emulate a connected display for whatever reason, you need to fool your videocard to think something is really connected.
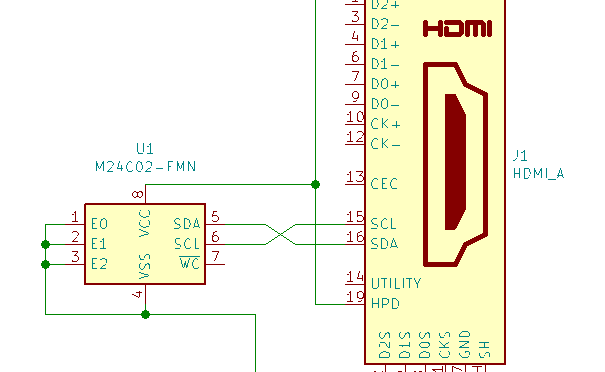
The display detection process starts after sensing 5V on Hot Plug Detect (pin 19). After this, the computer reads data via Display Data Channel (pins 15, 16) which is a standard I2C bus. It expects EDID data on address 0x50 and the standard way how this is achieved is by using 24C(00, 01, 02, …) I2C EEPROM connected to this bus inside your screen.
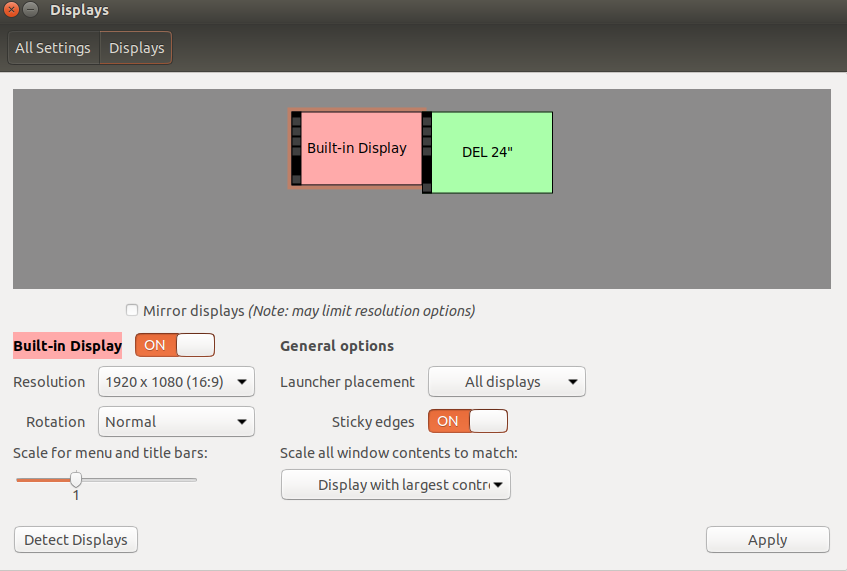
In Linux, you can access this bus via /dev/i2c-x. There is also a tool which can scan through all available i2c’s and detect EDID data. So I connected a regular display and run it:
$ sudo get-edid | hd
 This is read-edid version 3.0.2. Prepare for some fun.
 Attempting to use i2c interface
 No EDID on bus 0
 No EDID on bus 1
 No EDID on bus 2
 No EDID on bus 3
 No EDID on bus 4
 No EDID on bus 6
 No EDID on bus 7
 No EDID on bus 8
 No EDID on bus 9
 No EDID on bus 10
 No EDID on bus 11
 No EDID on bus 12
 No EDID on bus 13
 No EDID on bus 14
 No EDID on bus 15
 No EDID on bus 16
 No EDID on bus 17
 No EDID on bus 18
 2 potential busses found: 5 19
 Will scan through until the first EDID is found.
 Pass a bus number as an option to this program to go only for that one.
 128-byte EDID successfully retrieved from i2c bus 5
 Looks like i2c was successful. Have a good day.
 00000000  00 ff ff ff ff ff ff 00  10 ac 7a a0 53 36 37 30  |……….z.S670|
 00000010  30 17 01 03 80 34 20 78  ea ee 95 a3 54 4c 99 26  |0….4 x….TL.&|
 00000020  0f 50 54 a1 08 00 81 40  81 80 a9 40 b3 00 d1 c0  |.PT….@…@….|
 00000030  01 01 01 01 01 01 28 3c  80 a0 70 b0 23 40 30 20  |……(<..p.#@0 |
 00000040  36 00 06 44 21 00 00 1a  00 00 00 ff 00 30 46 46  |6..D!……..0FF|
 00000050  58 44 33 42 53 30 37 36  53 0a 00 00 00 fc 00 44  |XD3BS076S……D|
 00000060  45 4c 4c 20 55 32 34 31  32 4d 0a 20 00 00 00 fd  |ELL U2412M. ….|
 00000070  00 32 3d 1e 53 11 00 0a  20 20 20 20 20 20 00 34  |.2=.S…      .4|
 00000080
And it really has found my display on /dev/i2c-5. Then I saved the data by running this command to have some working EDID data.
$ sudo get-edid > dell.edid
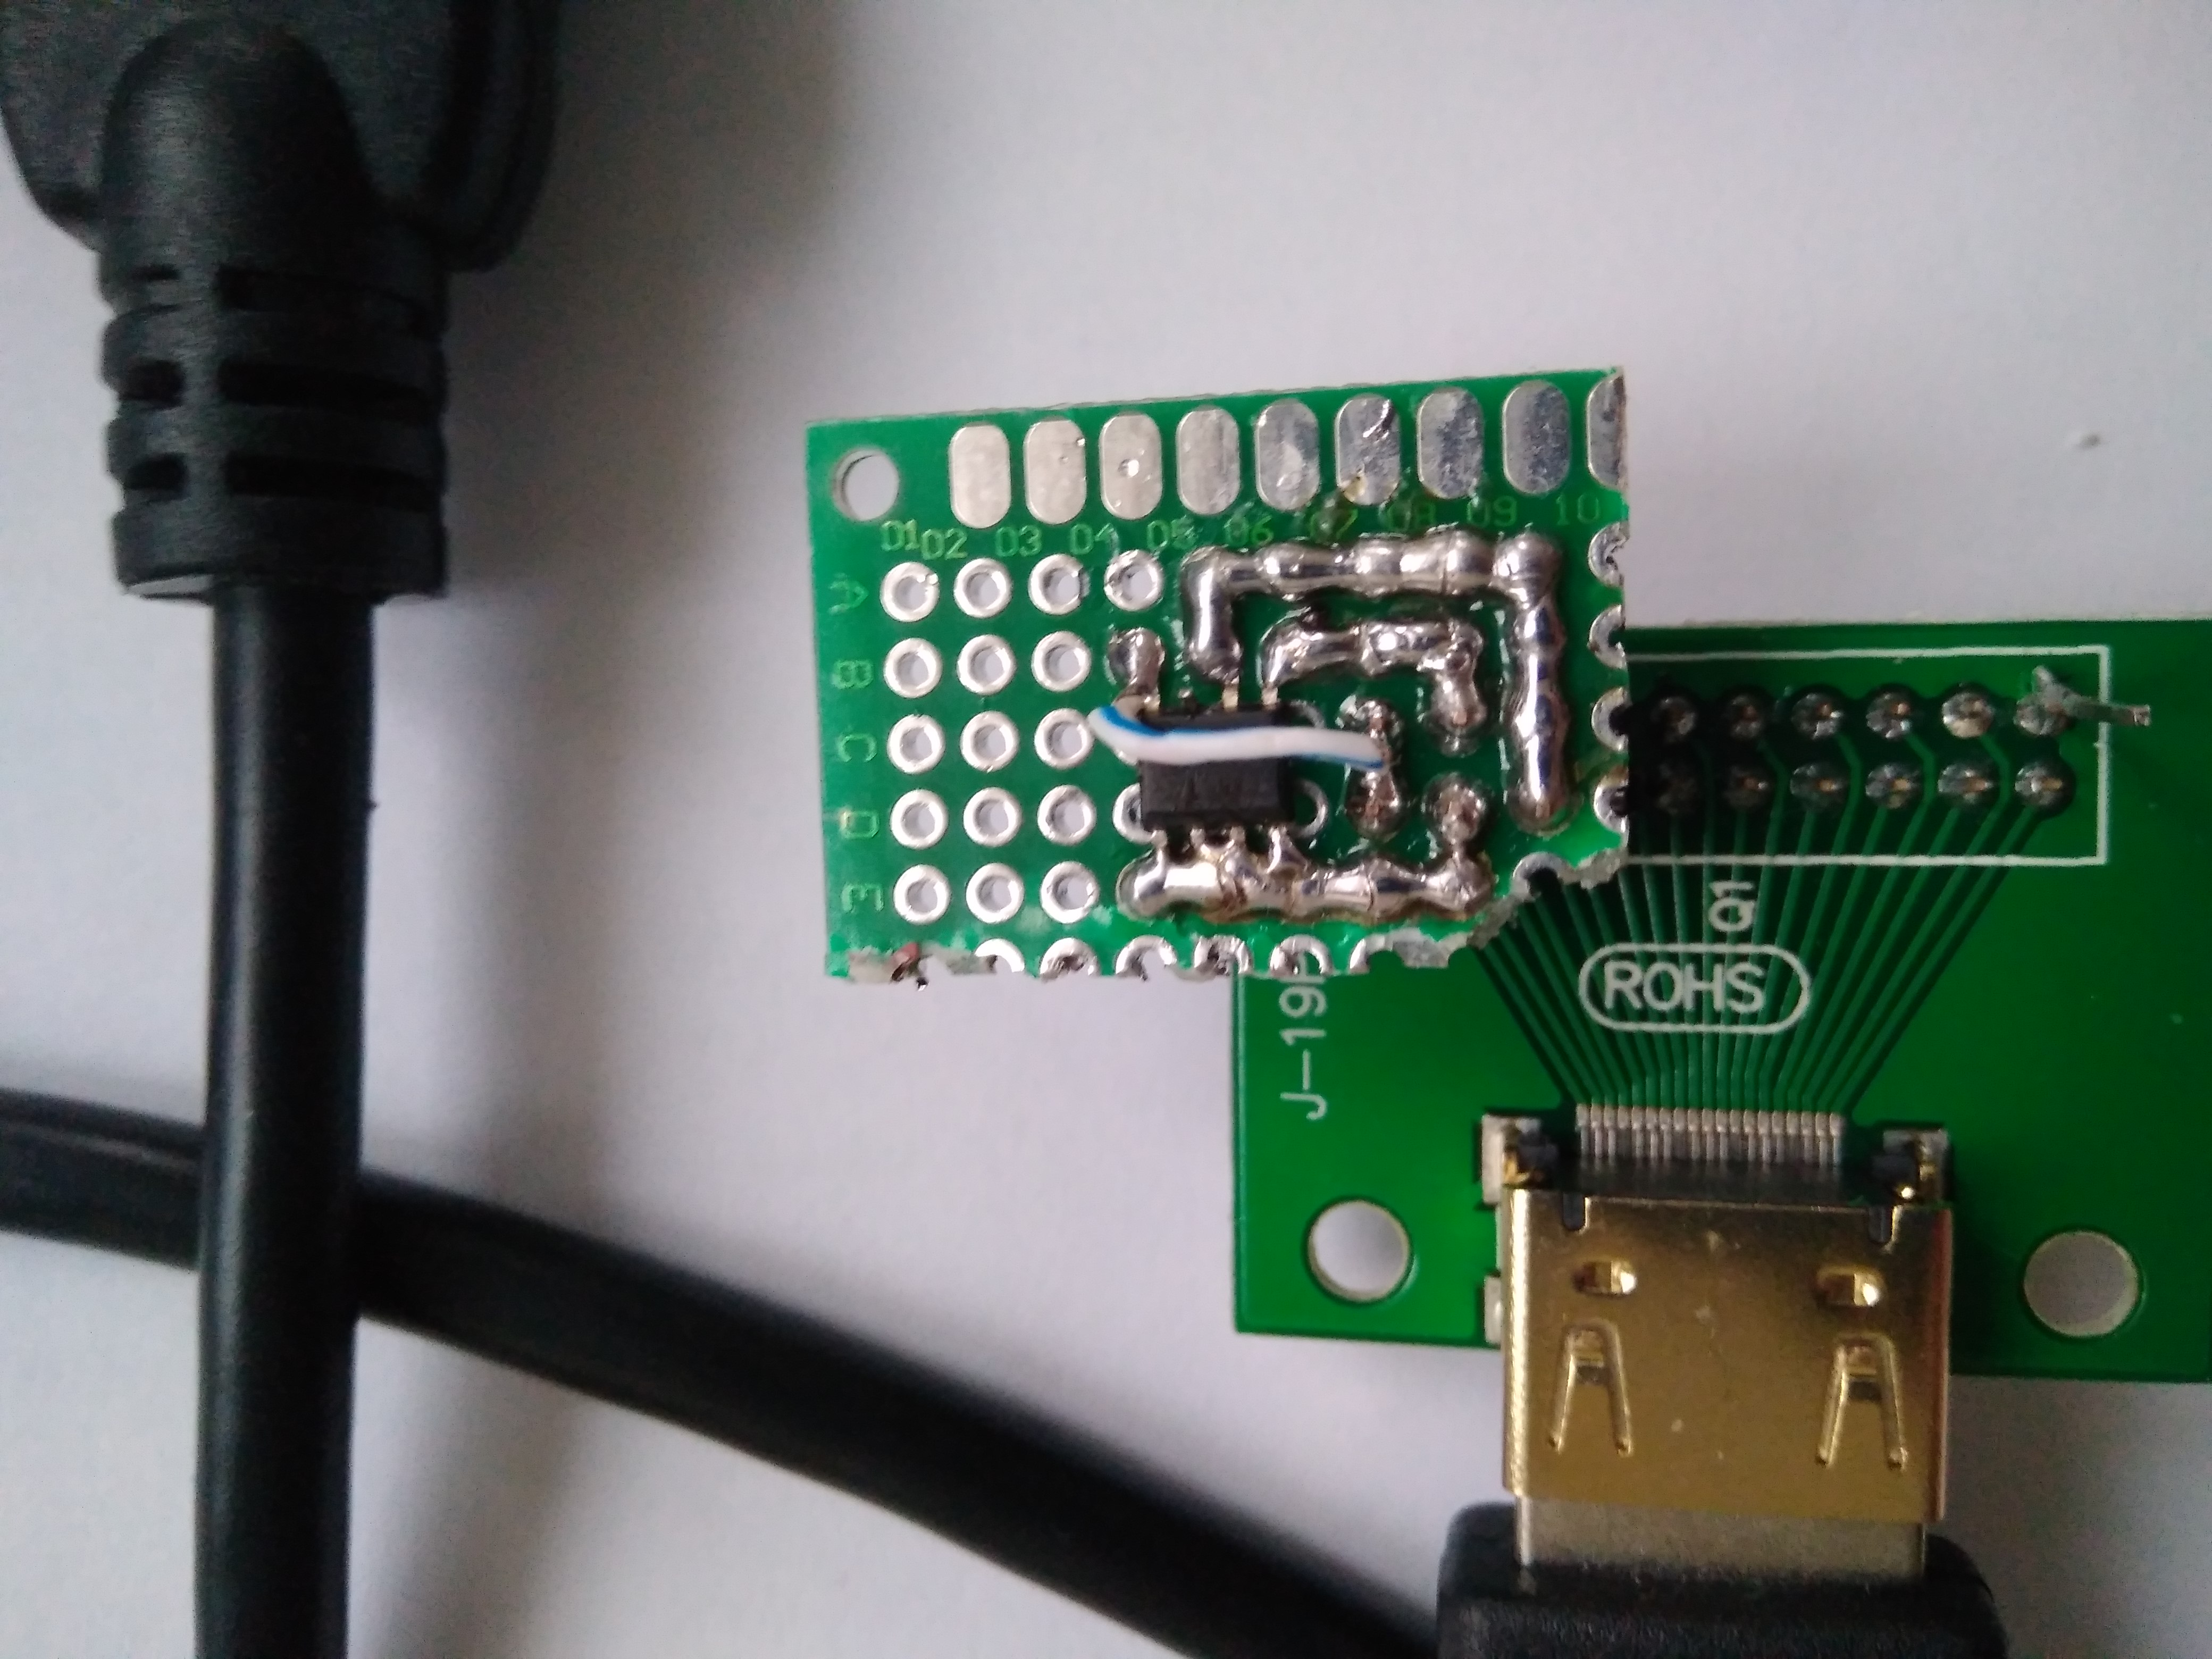
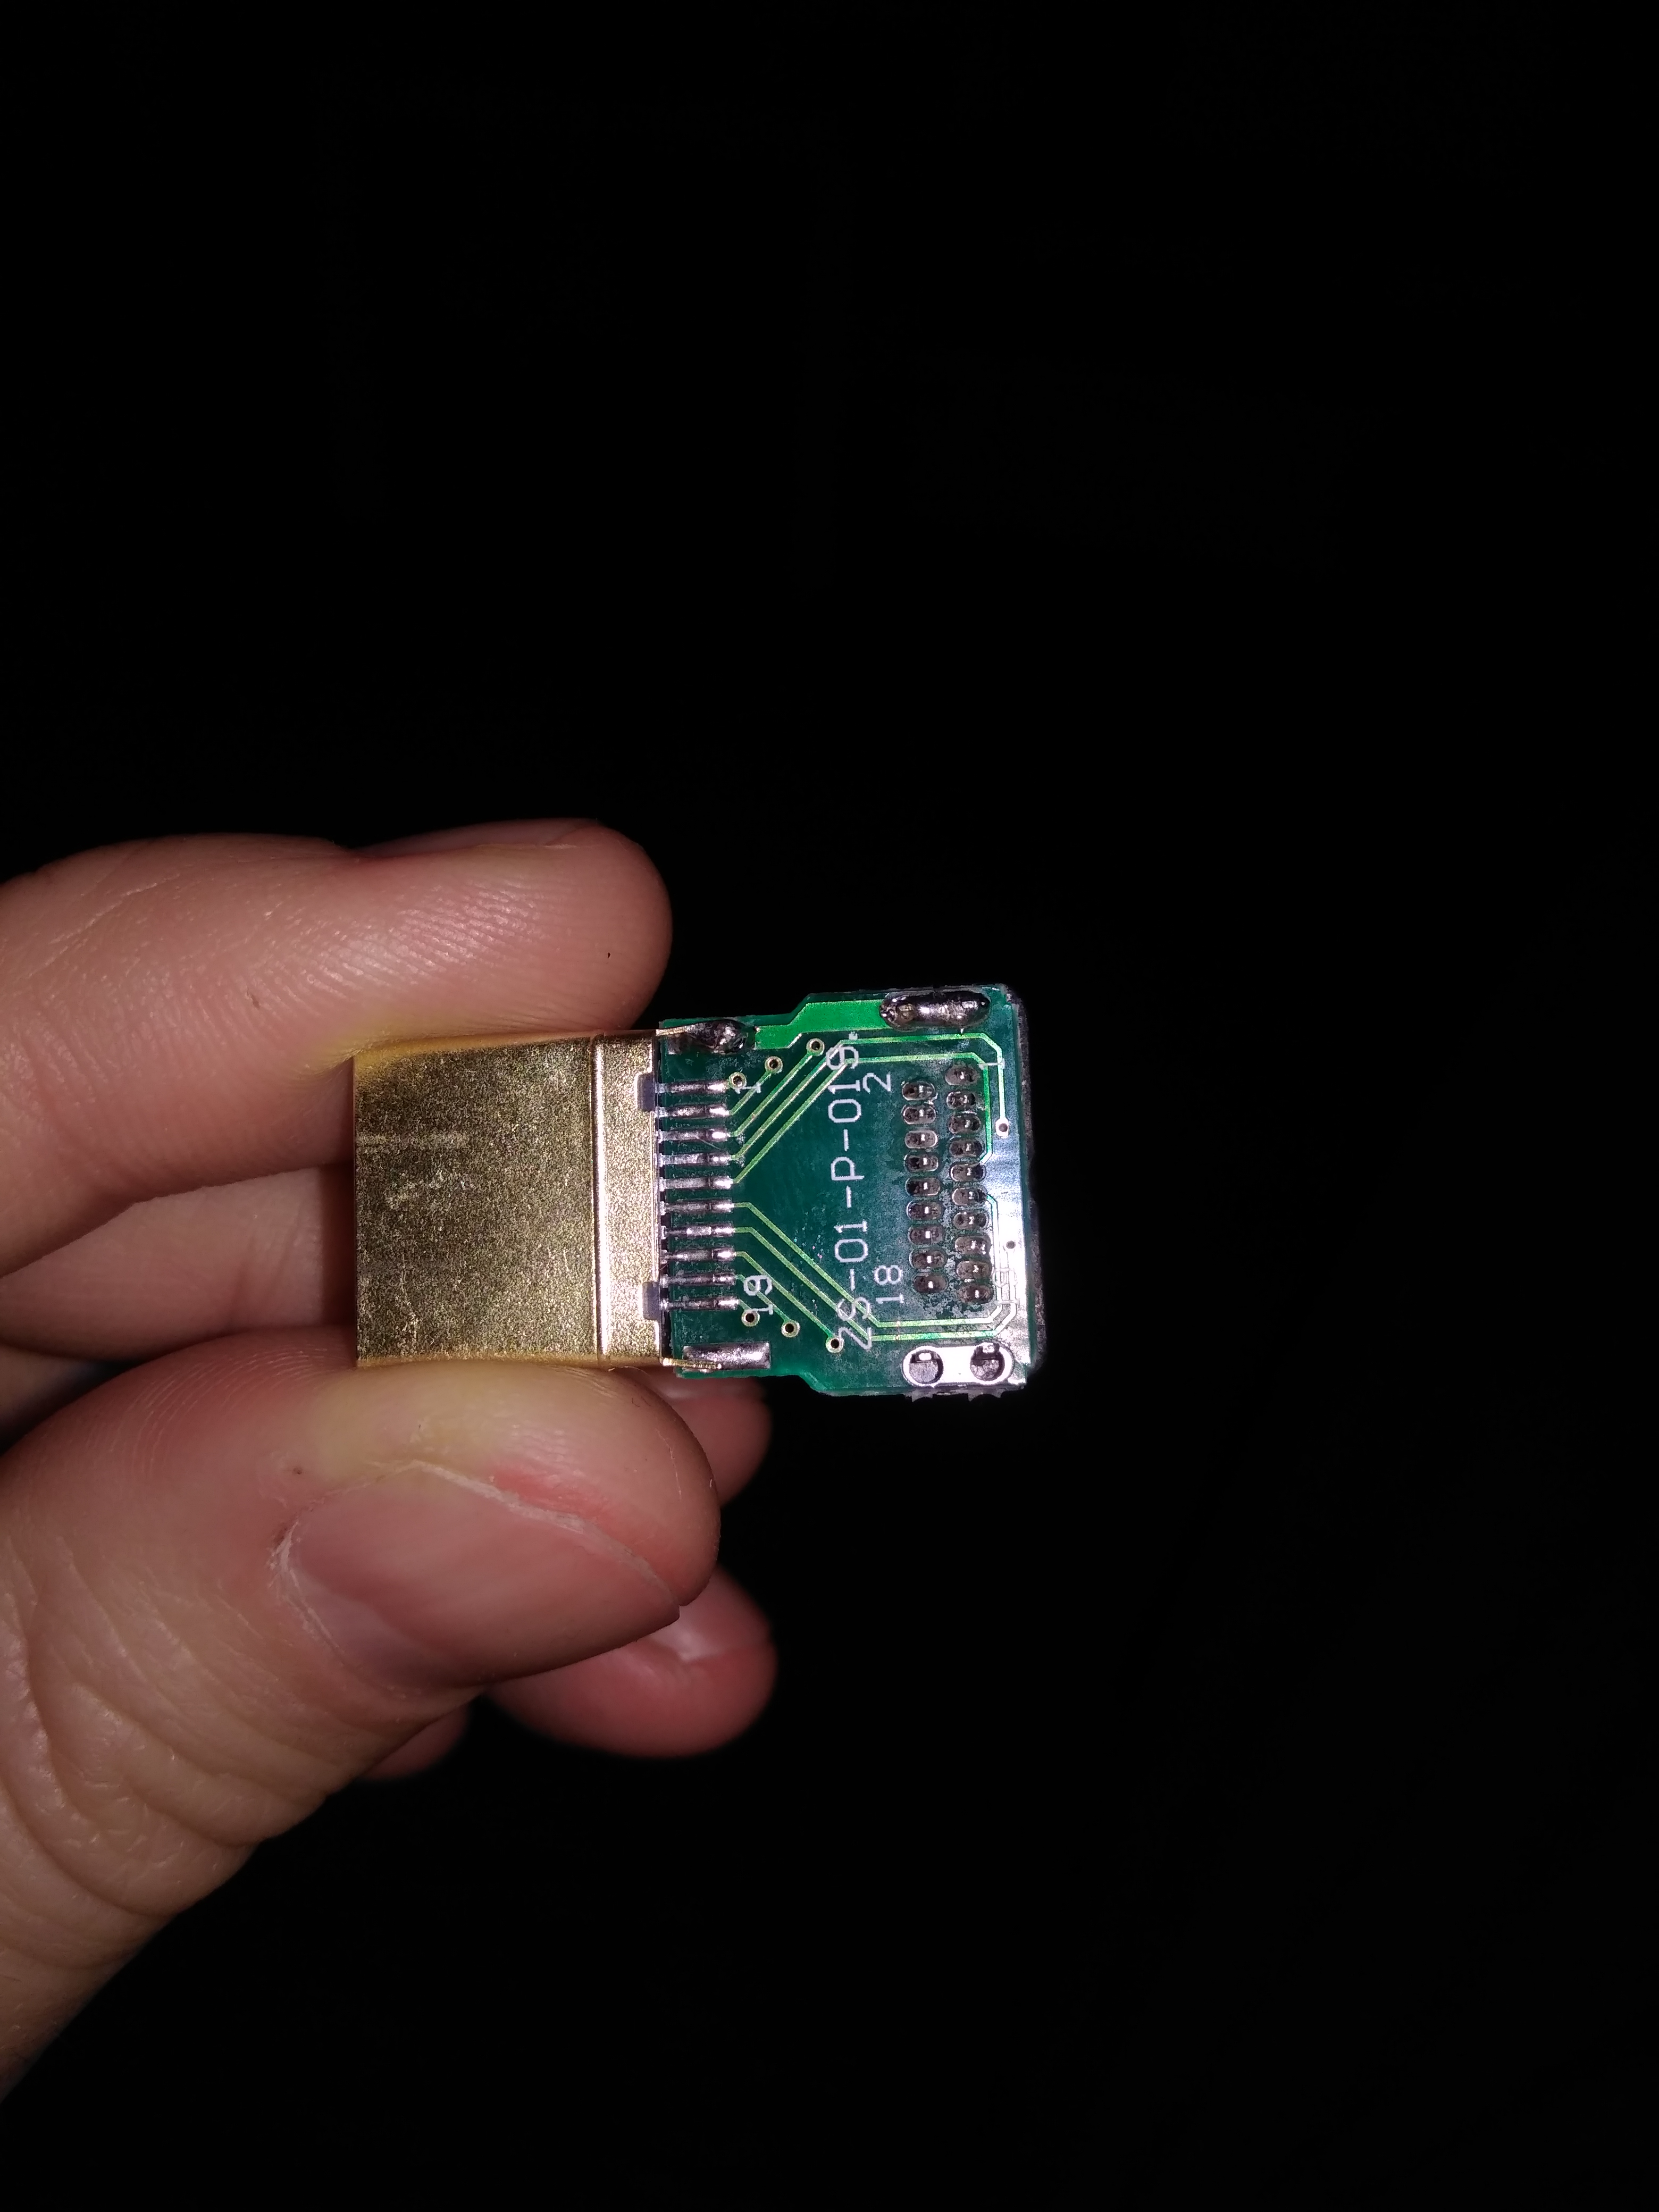
Next I assembled a testing circuitry on an evaluation board.
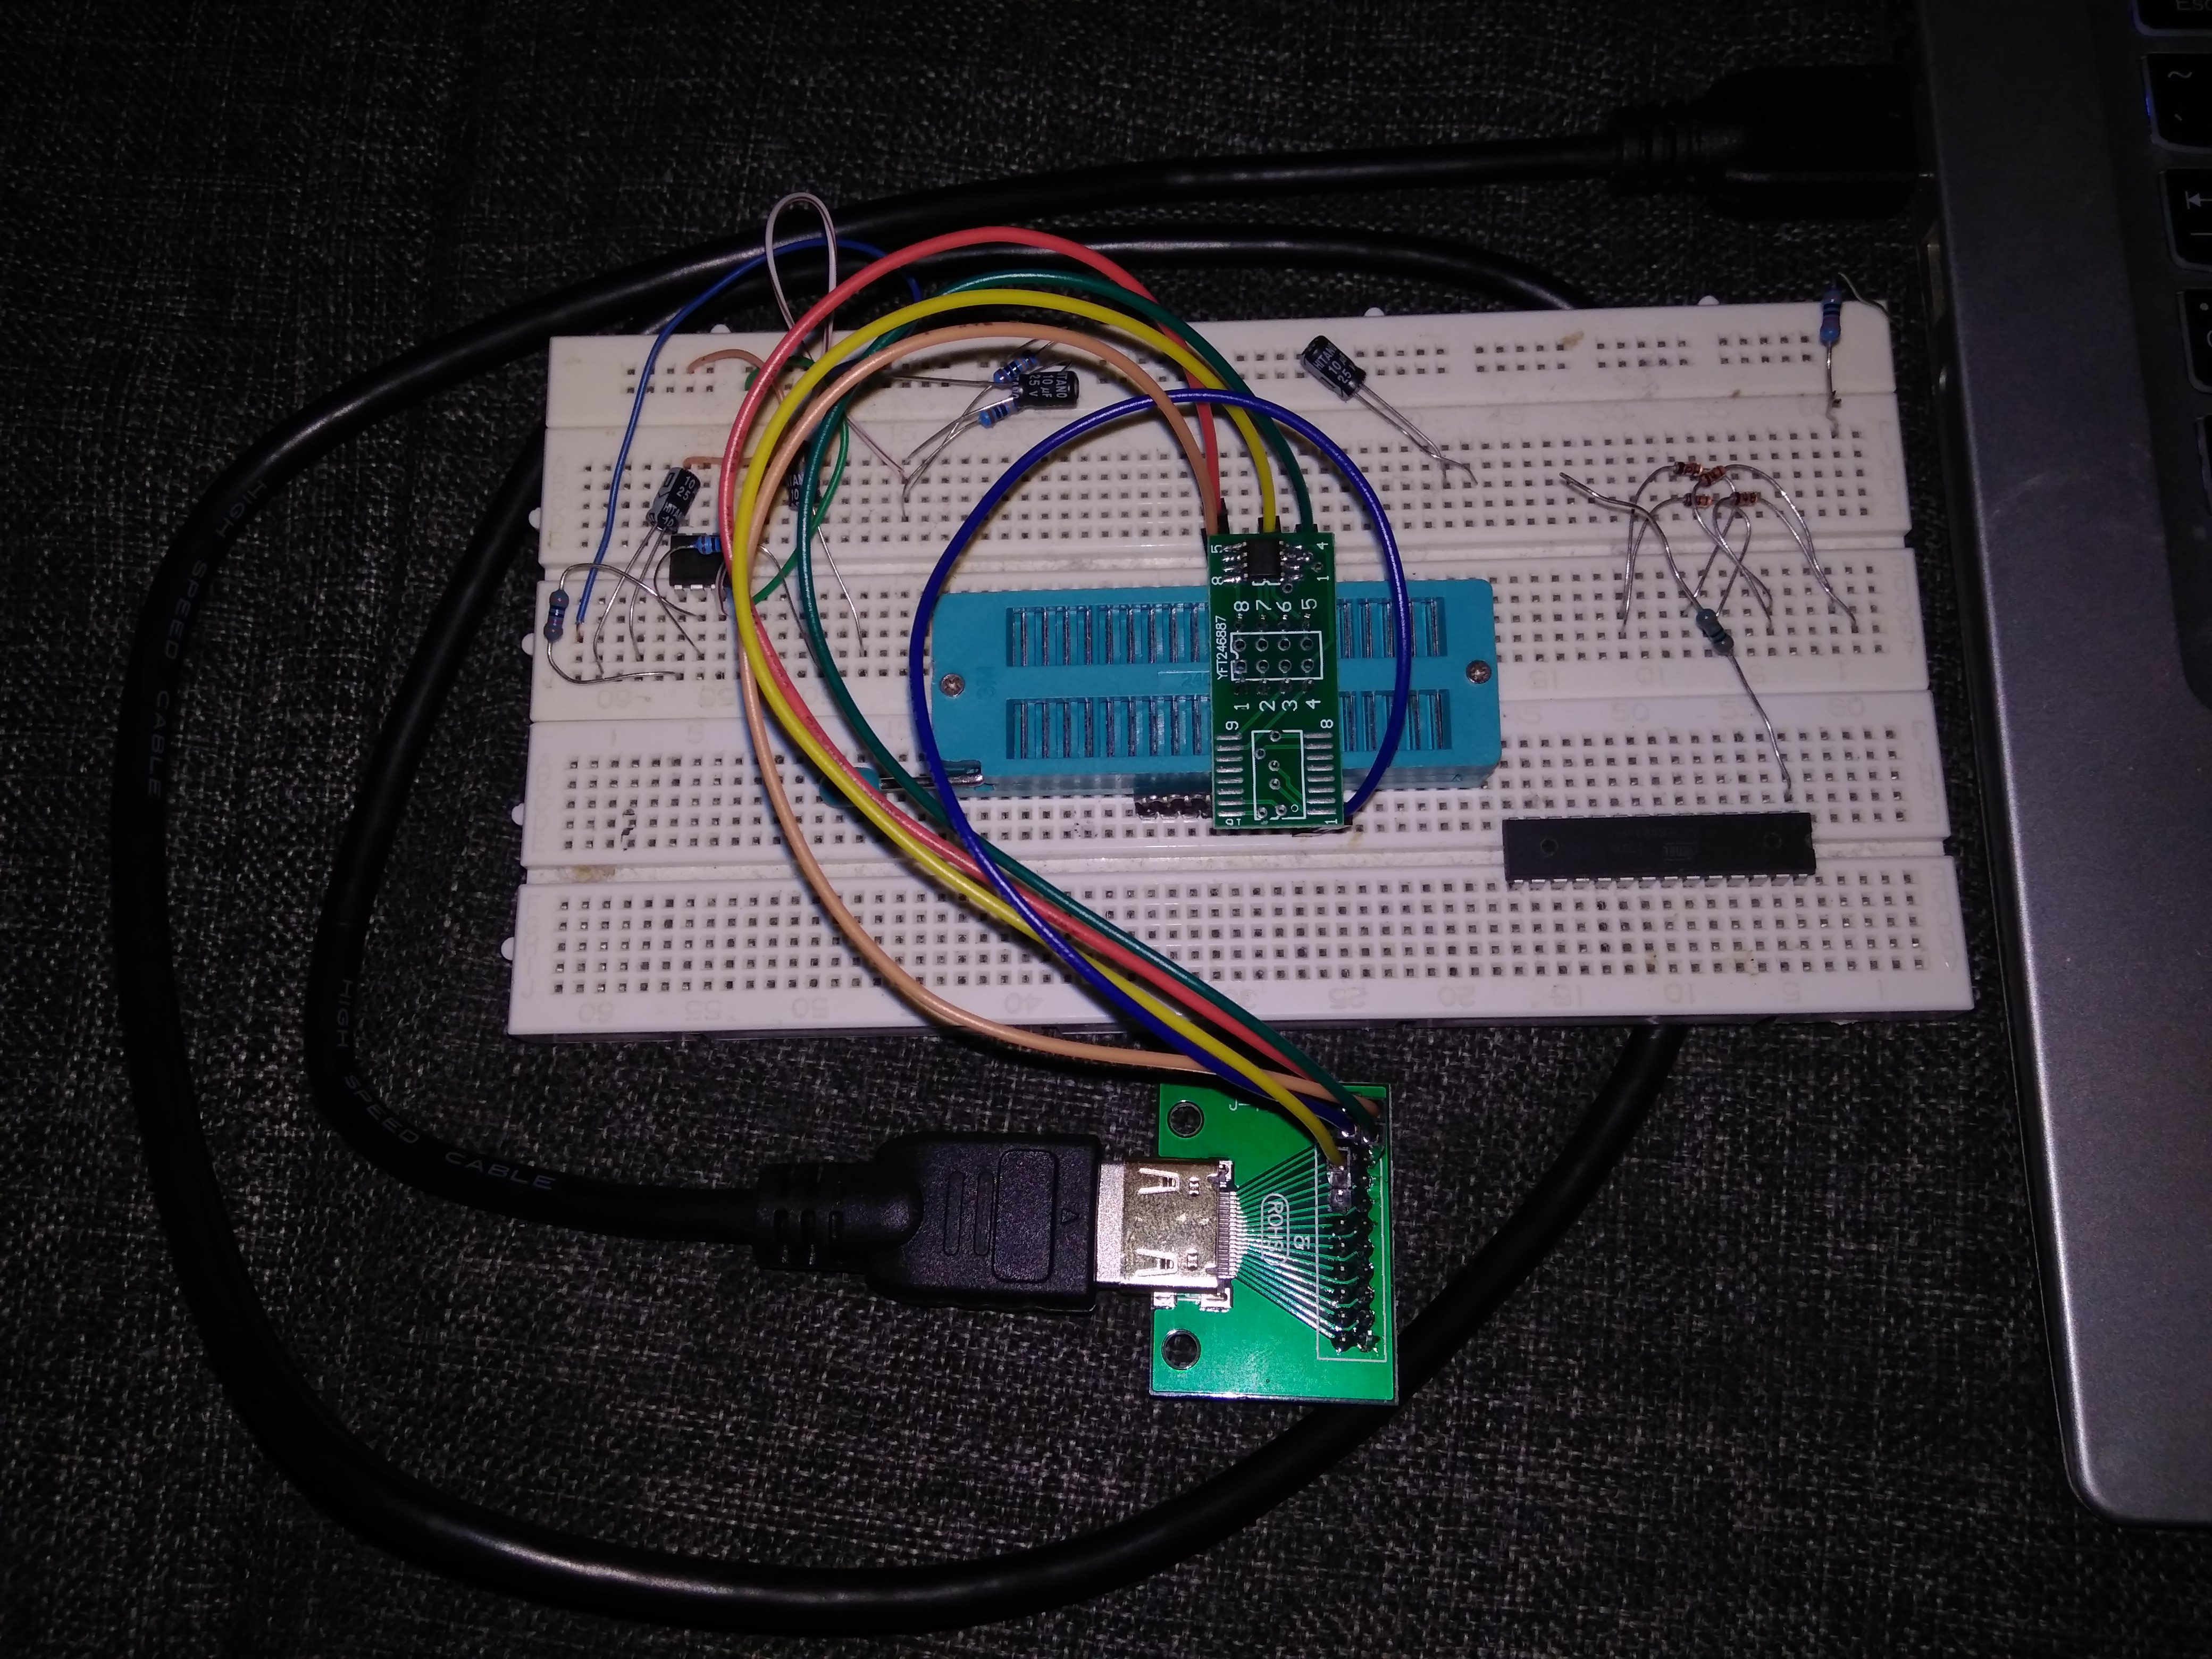
I loaded the data with CH341a programmer and connected to my HDMI but nothing happened. So I started to investigate. I have used 24C128 EEPROM which should be just like a 24C00 but with a bigger size. But certainly not. It uses 2 bytes for addressing the memory while 24C00 to 24C16 use only one. So I quickly replaced it with 24C02 and Bingo! computer detected DELL display.
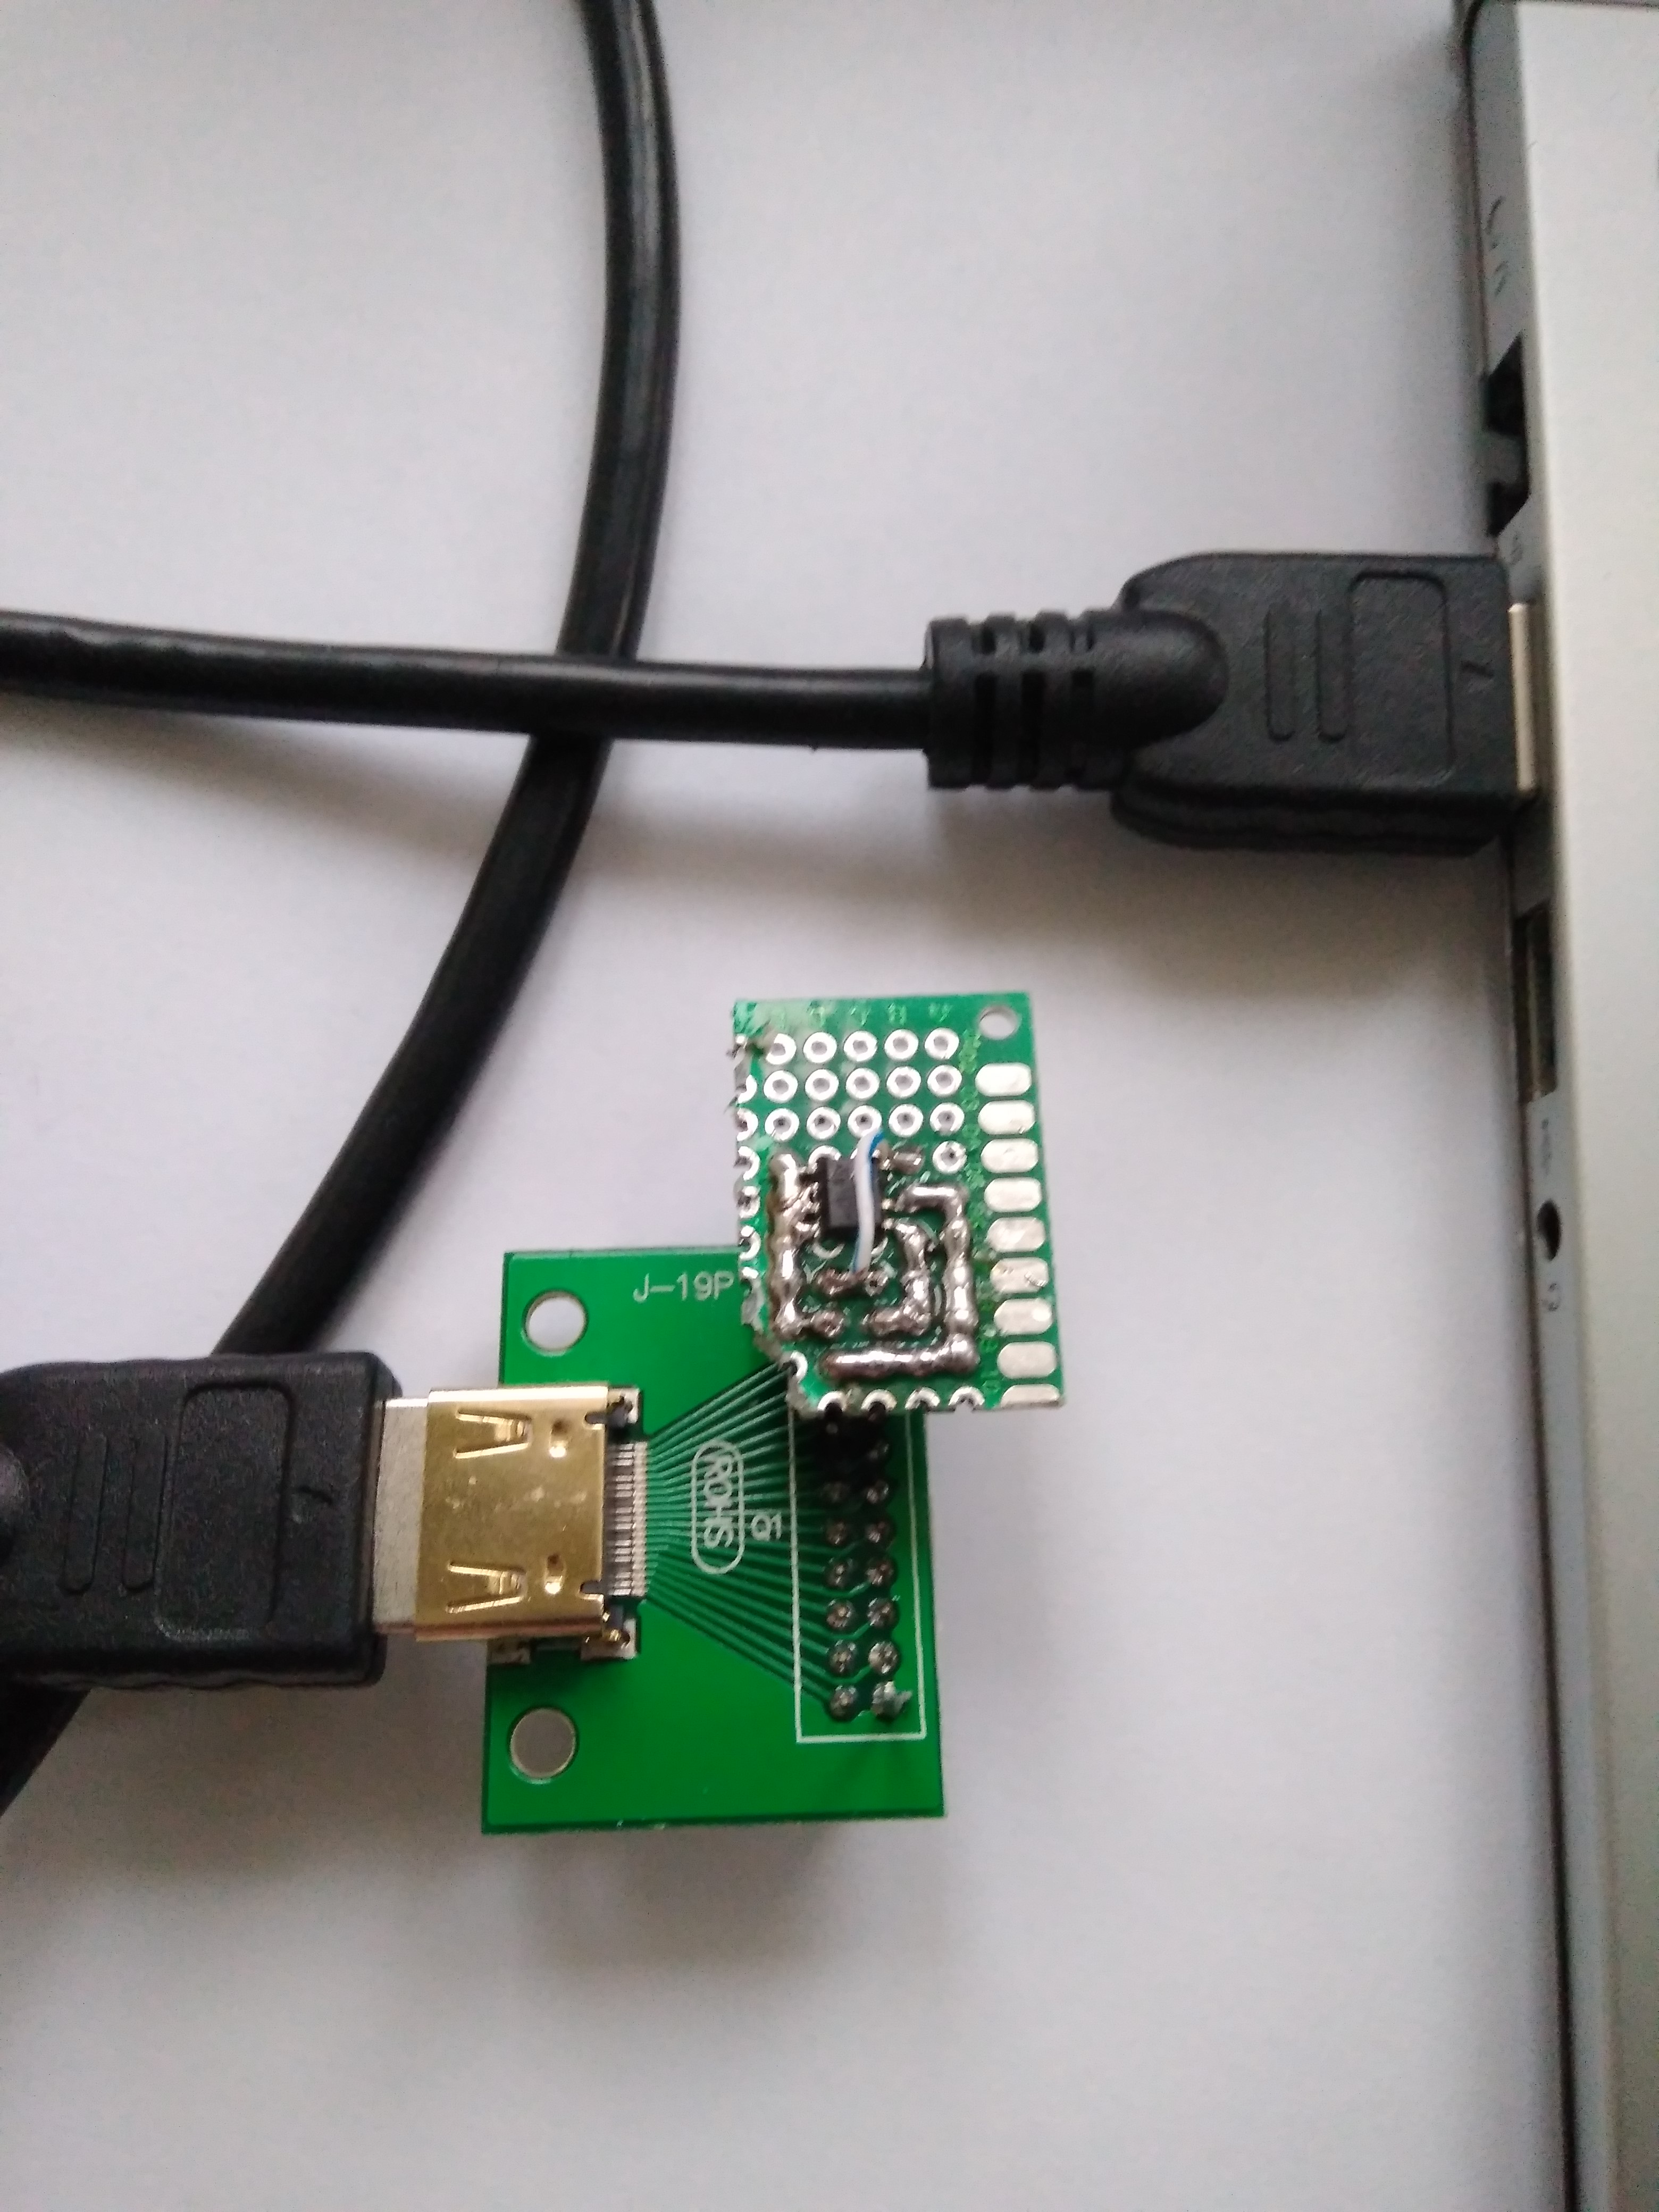
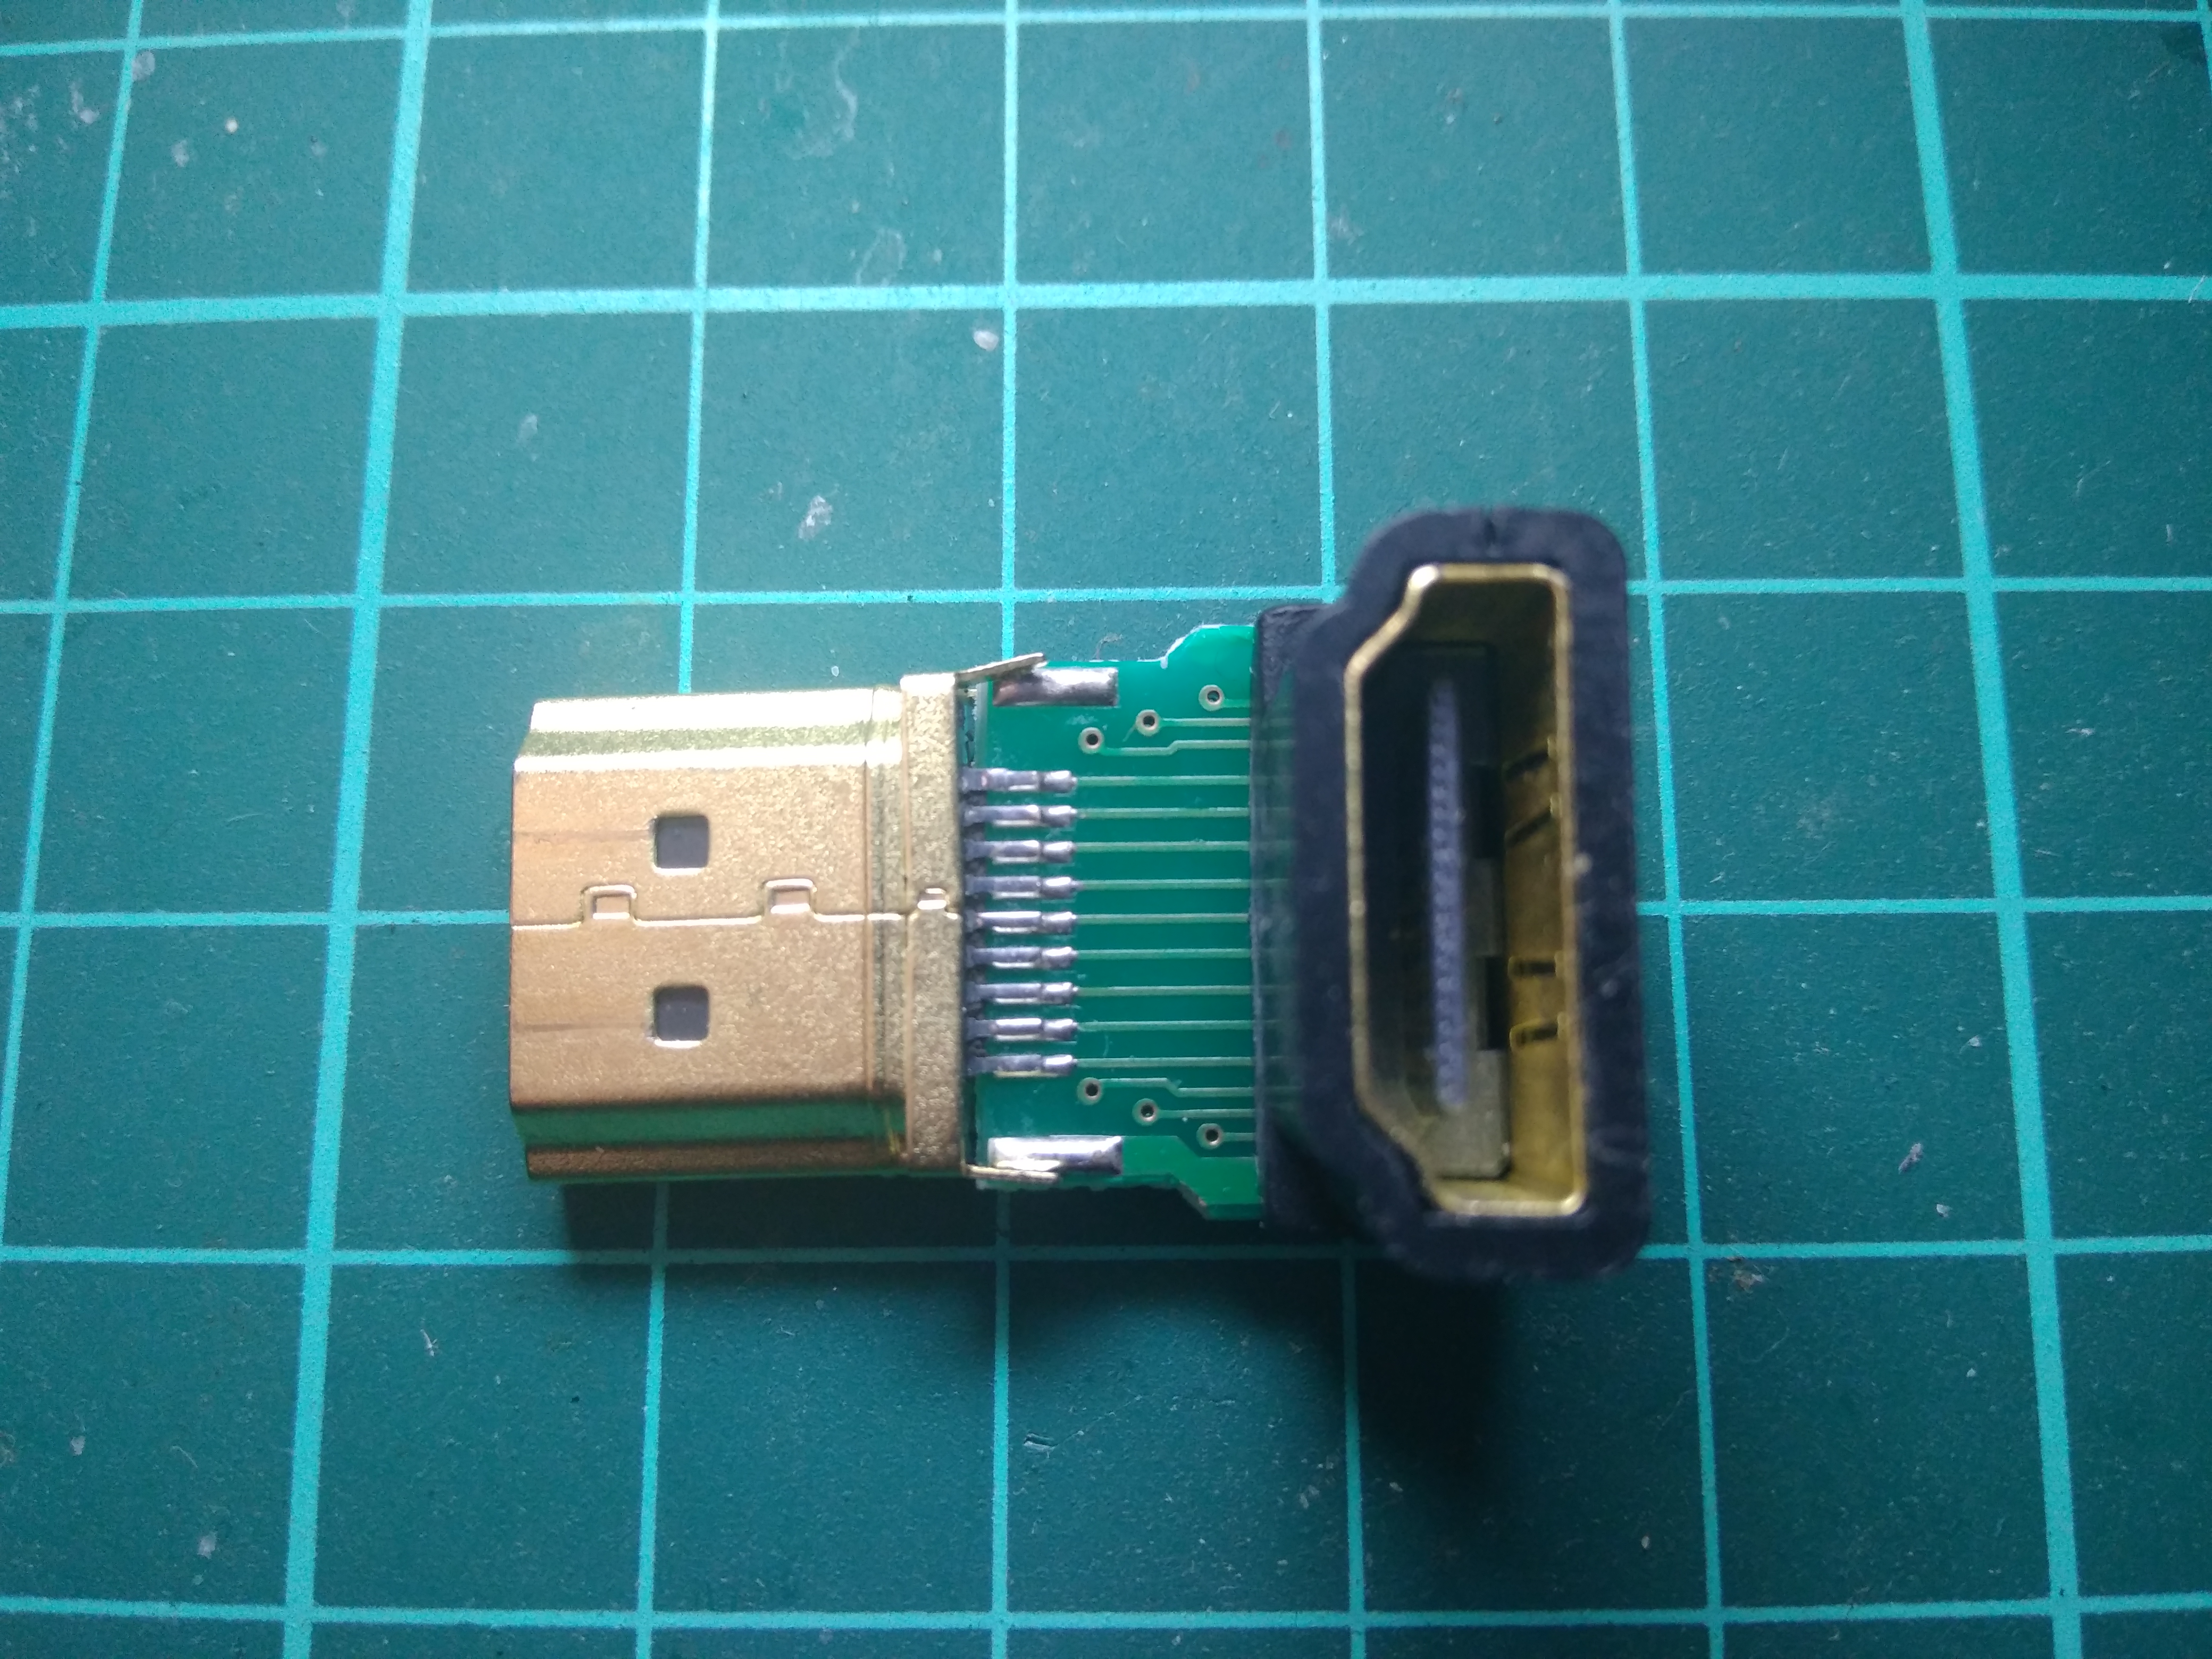
After this, I assembled a nicer board and it works perfectly:
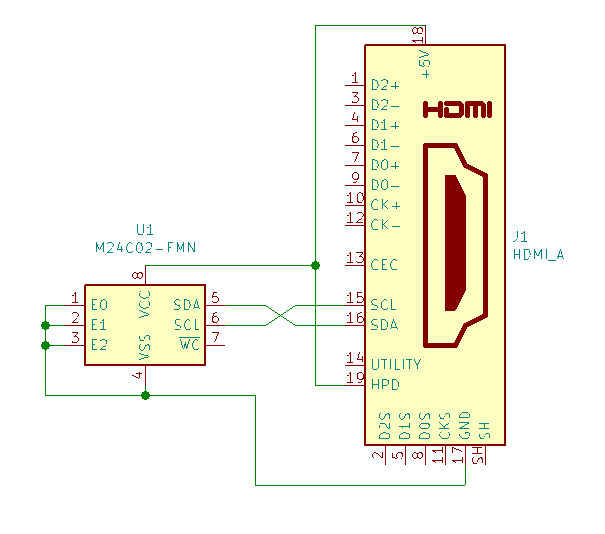
If you want to try this, here is the schematic:
Meanwhile, I have found out that there is an utility for writing EDID directly via HDMI without an external programmer: edid-rw . So you can just attach a new uninitialized EEPROM and program it after connecting. You might see following error in dmesg but this doesn’t cause any issues:
[ 6192.520241] i915 0000:00:02.0: HDMI-A-1: EDID is invalid:
 [ 6192.520248]     [00] BAD  00 ff ff ff ff ff ff 00 ff ff ff ff ff ff ff ff
 [ 6192.520251]     [00] BAD  ff ff ff ff ff ff ff ff ff ff ff ff ff ff ff ff
 [ 6192.520253]     [00] BAD  ff ff ff ff ff ff ff ff ff ff ff ff ff ff ff ff
 [ 6192.520254]     [00] BAD  ff ff ff ff ff ff ff ff ff ff ff ff ff ff ff ff
 [ 6192.520256]     [00] BAD  ff ff ff ff ff ff ff ff ff ff ff ff ff ff ff ff
 [ 6192.520258]     [00] BAD  ff ff ff ff ff ff ff ff ff ff ff ff ff ff ff ff
 [ 6192.520260]     [00] BAD  ff ff ff ff ff ff ff ff ff ff ff ff ff ff ff ff
 [ 6192.520262]     [00] BAD  ff ff ff ff ff ff ff ff ff ff ff ff ff ff ff ff
This is how to write it:
$ sudo ./edid-rw -w <i2c_dev_number> < dell.edid
If you are not much into soldering, you can buy ready made modules on aliexpress:
One without an output for $1.40:


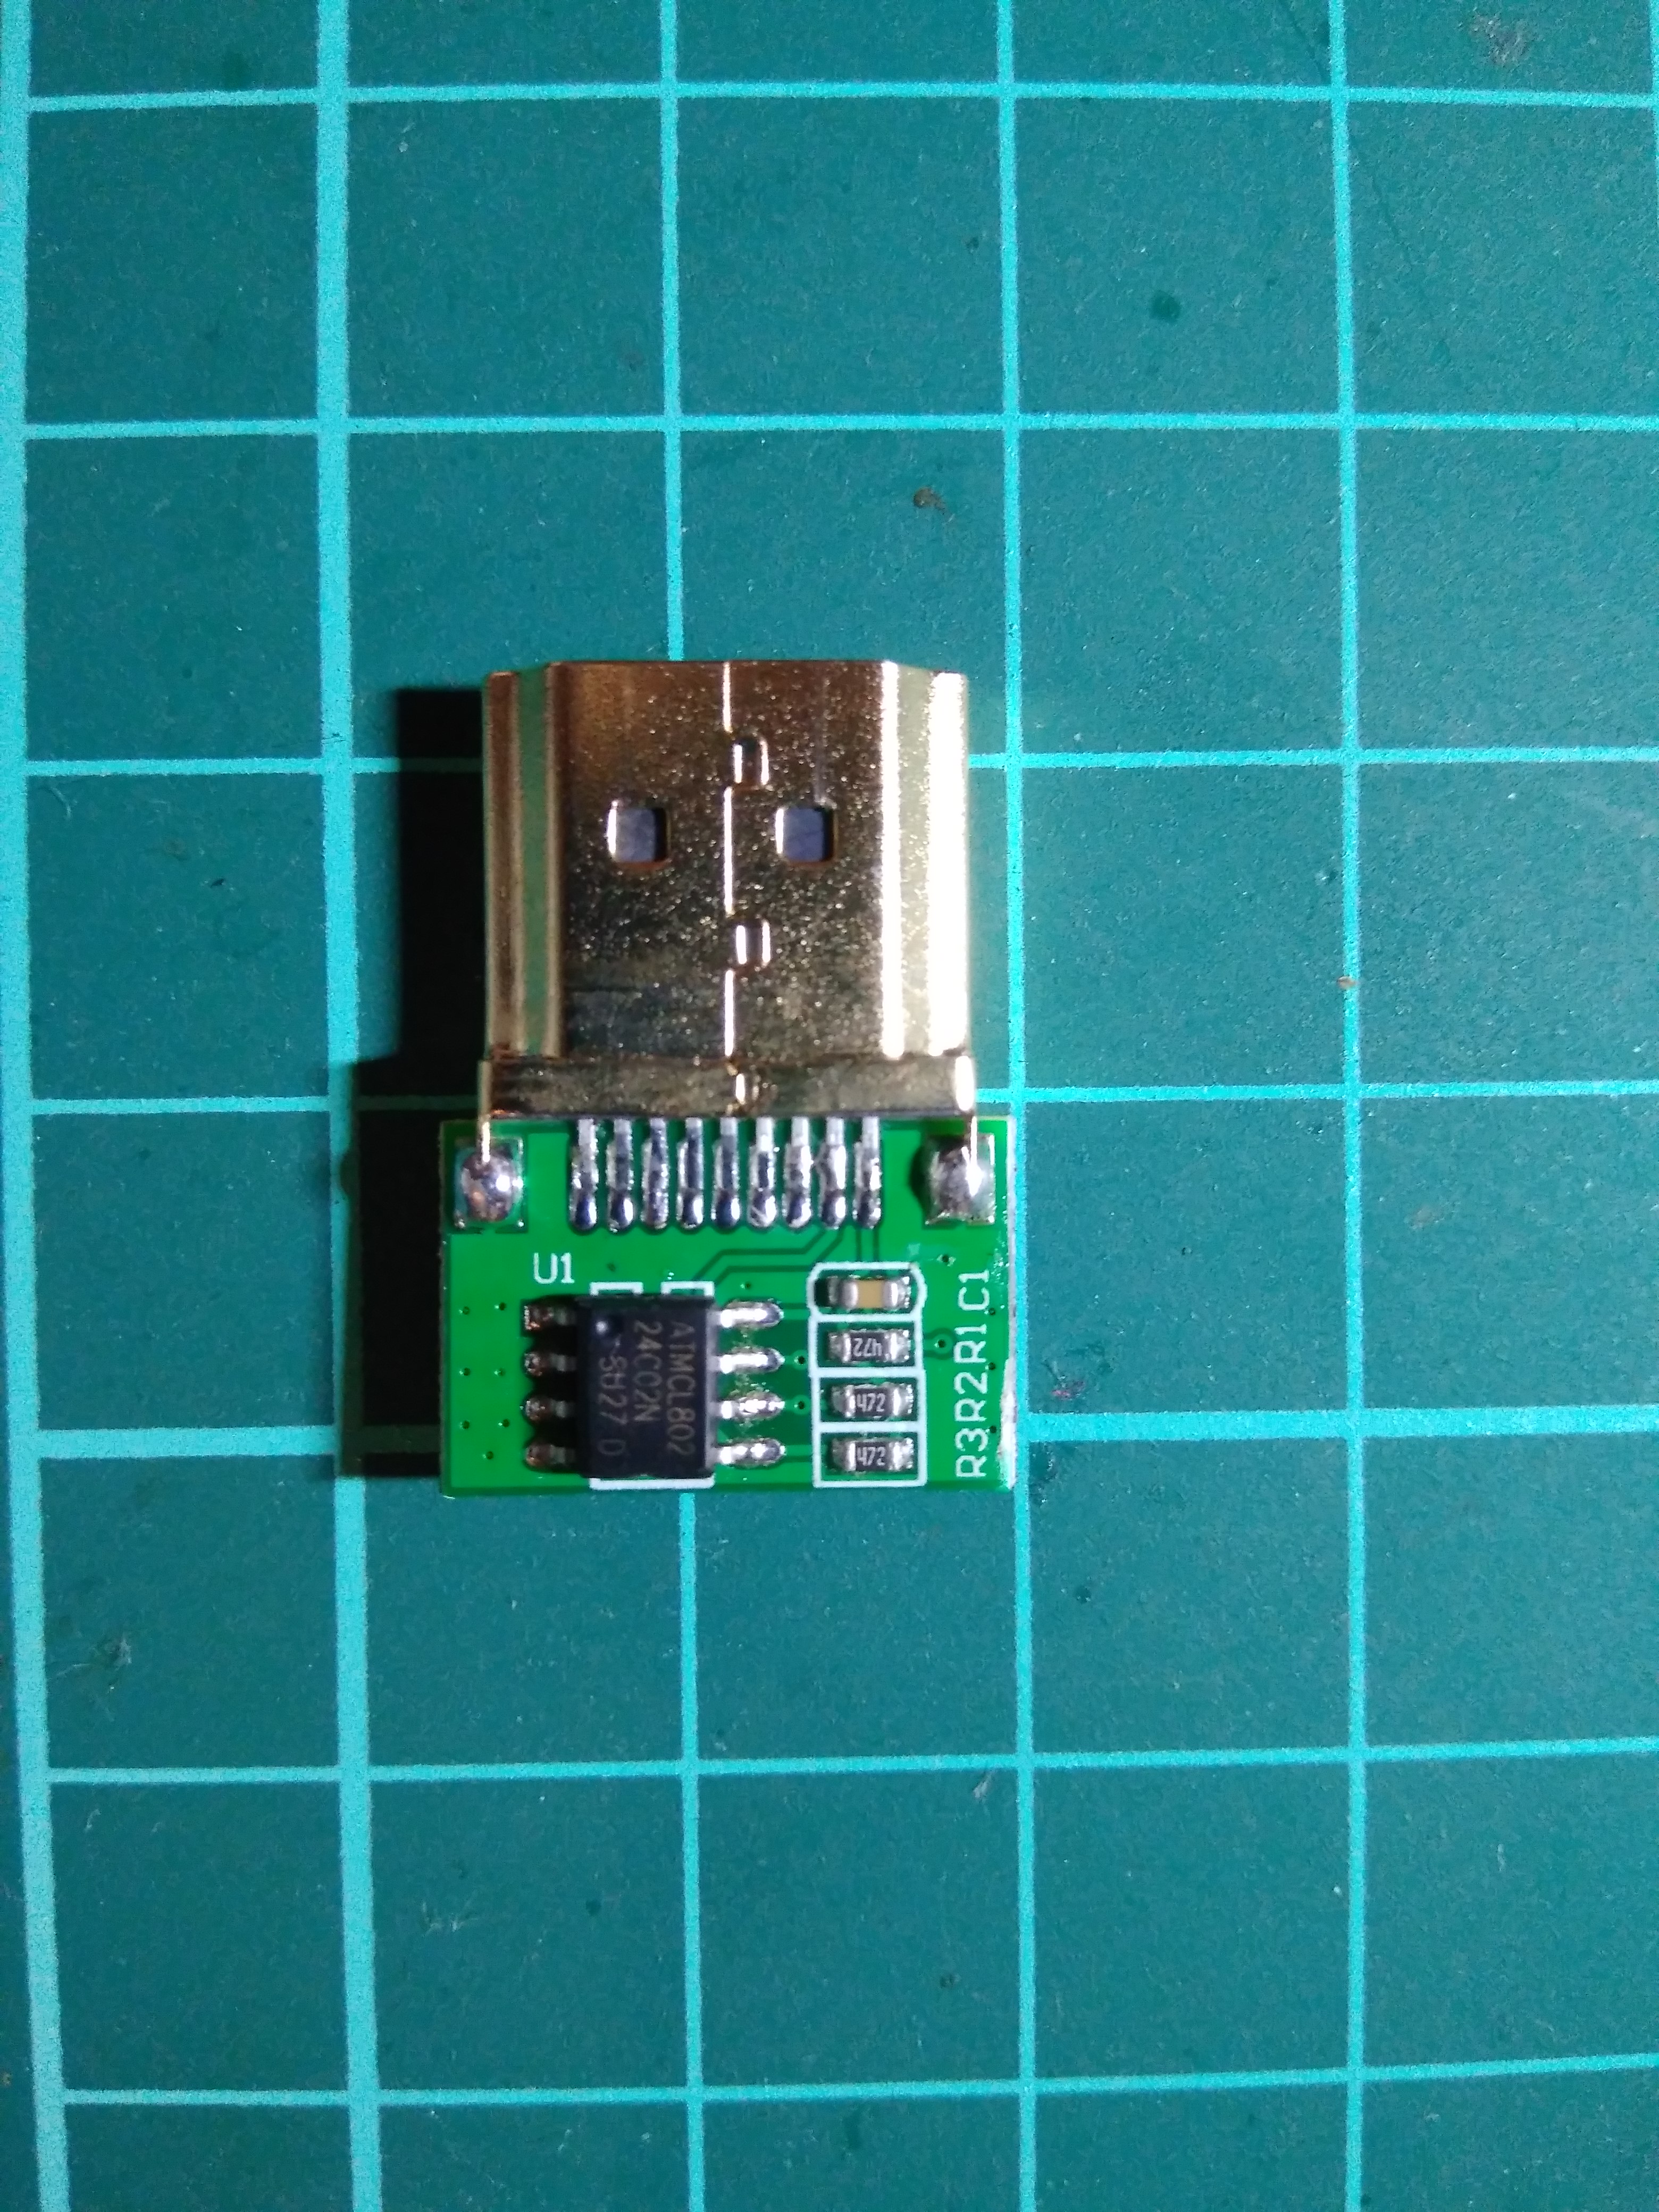
And one with an output for $2.83:
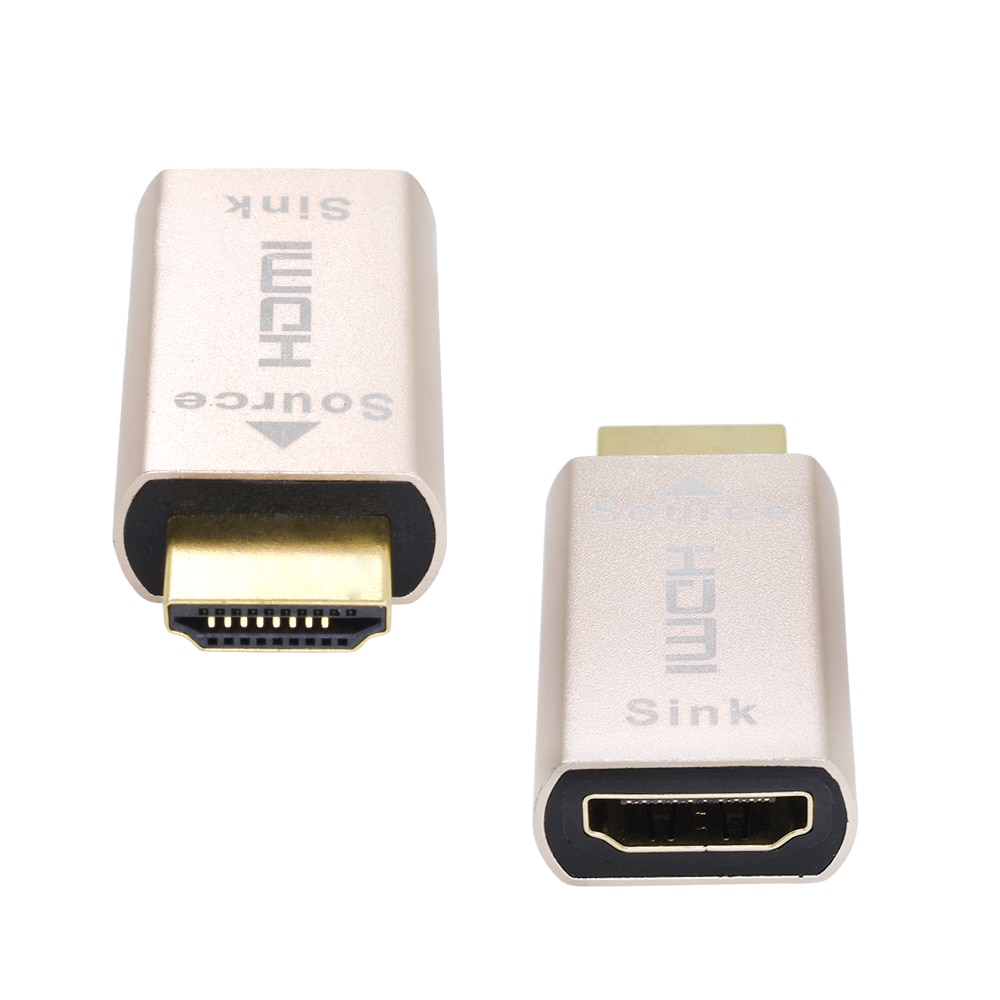
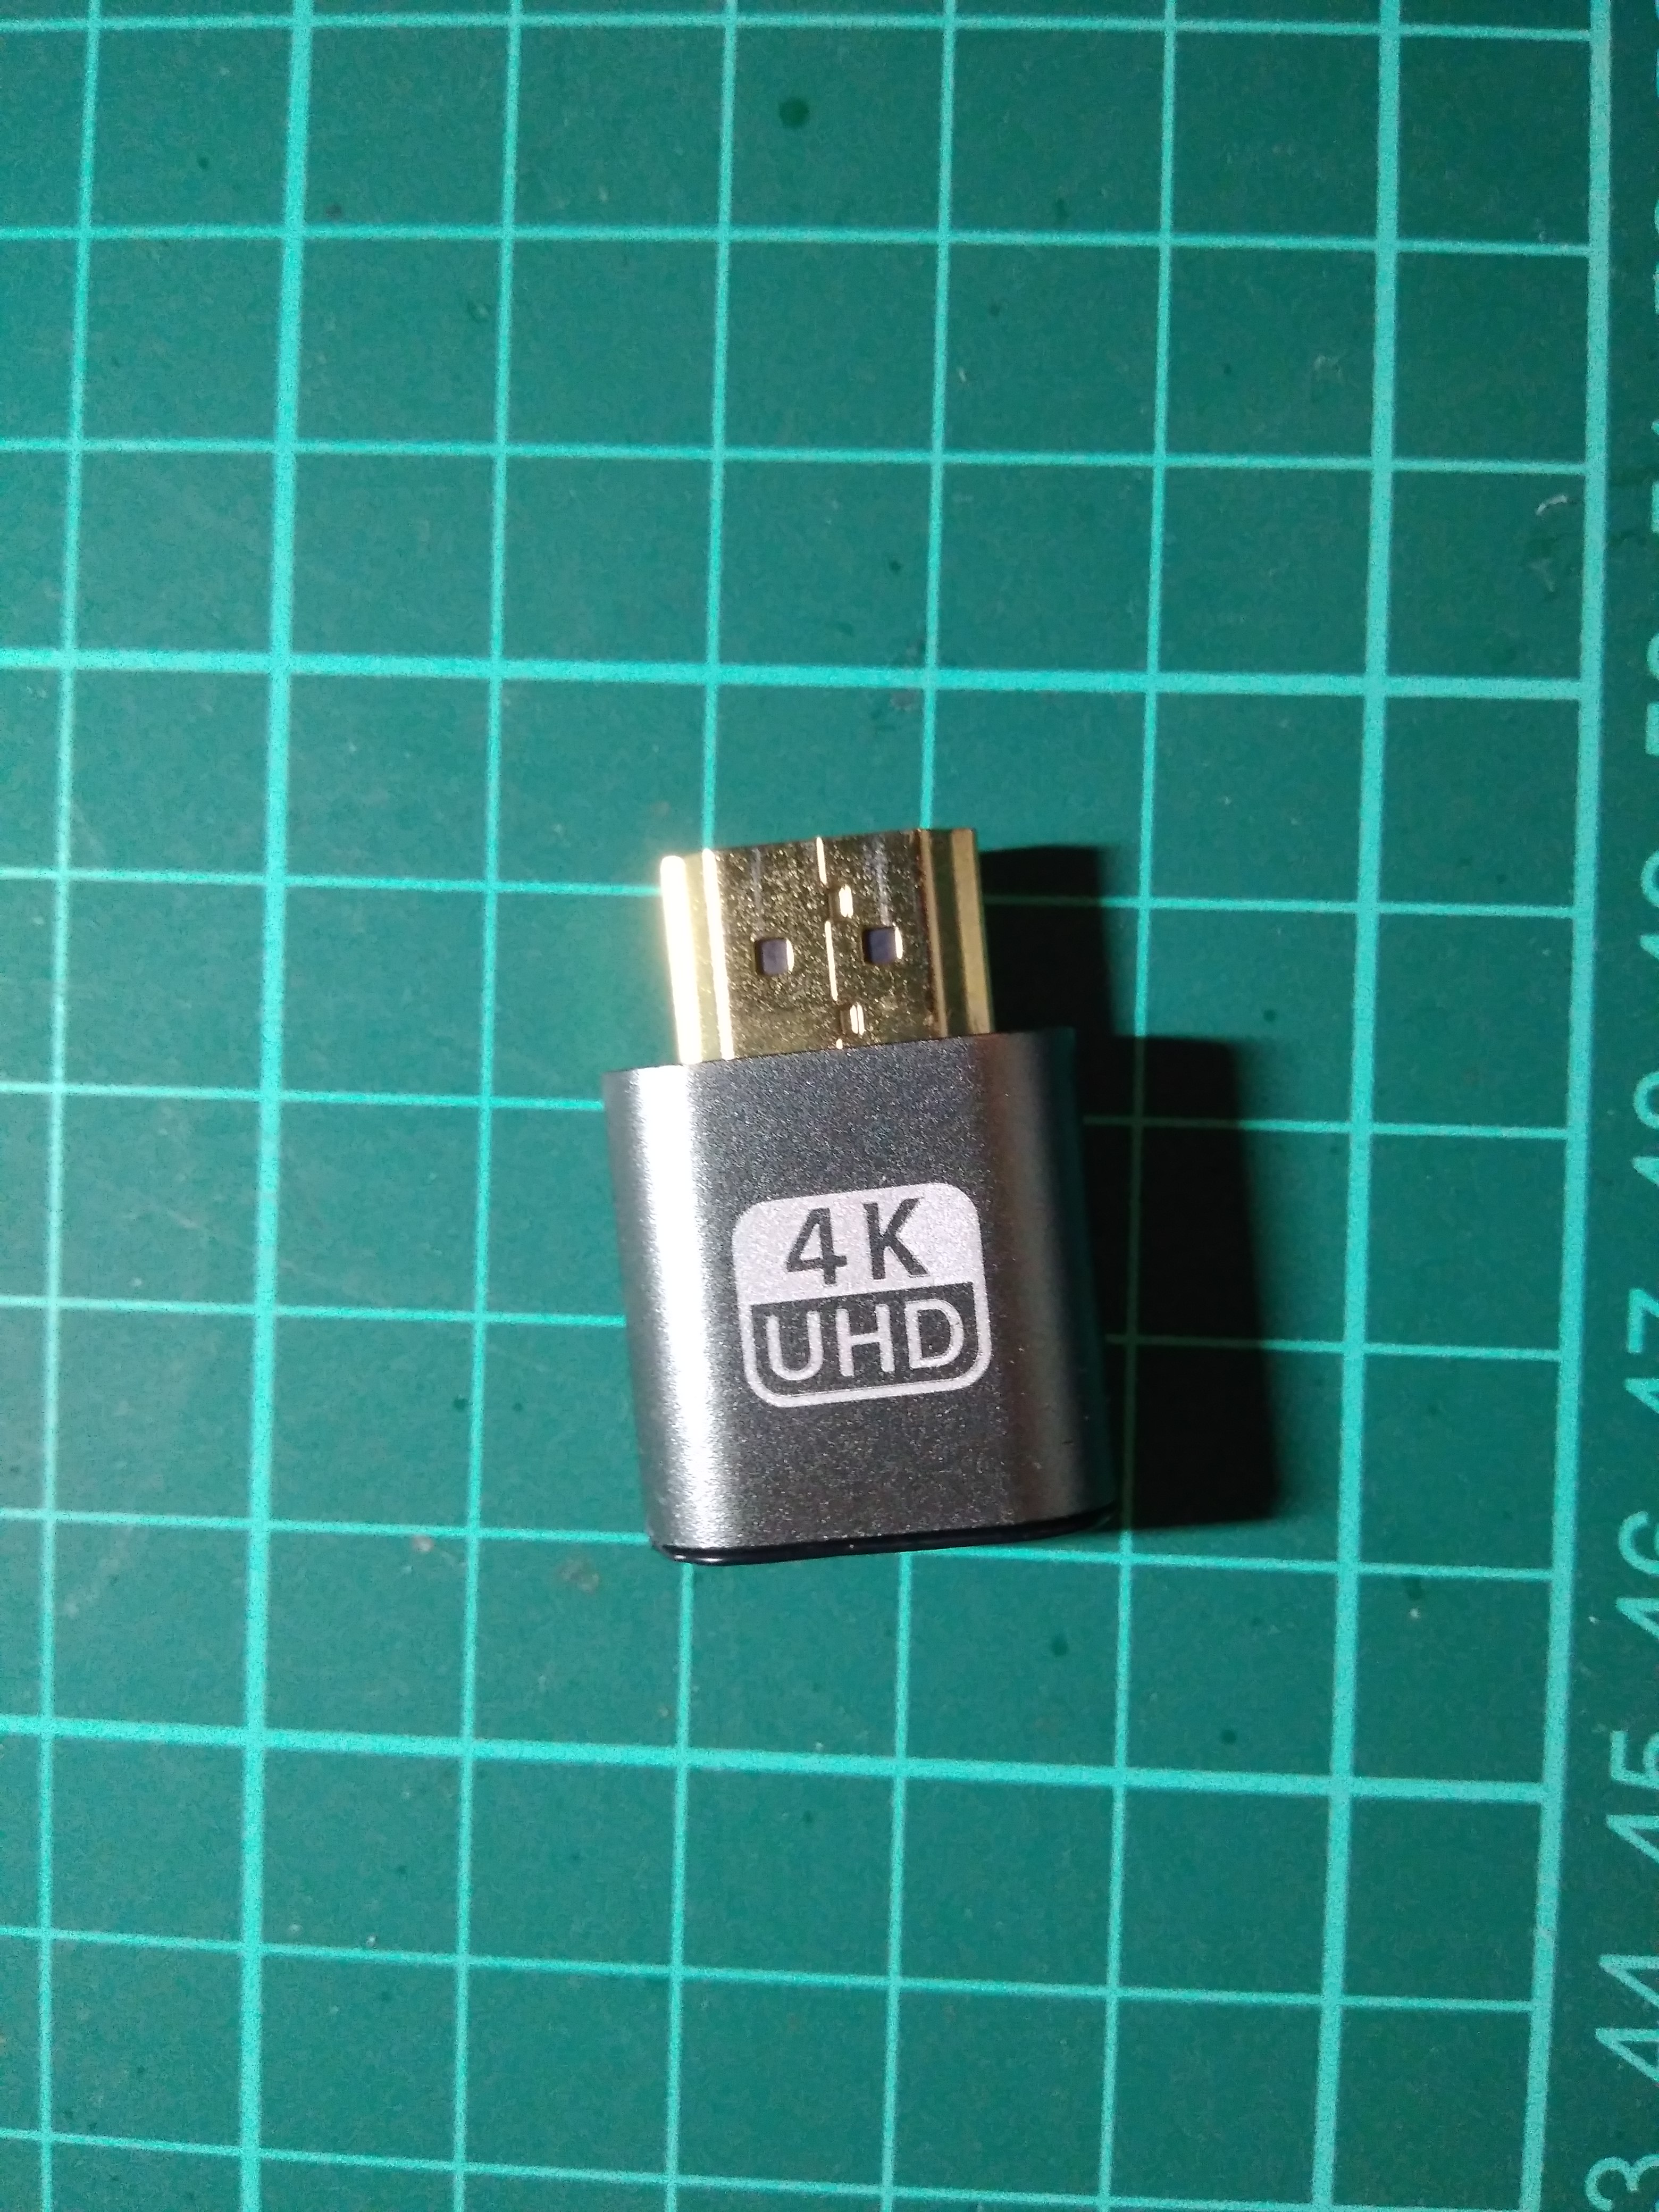
But absolutely the cheapest solution is to buy a HDMI angle adapter for $0.81 and solder in 24C02 for $0.04 per piece.

That’s it, I hope I helped someone. Please share you thoughts in comments.
Bye.
Sources:
https://www.datapro.net/techinfo/hot_plug_detection.html
https://en.wikipedia.org/wiki/HDMI
I still have to try this, but this might end up saving me from having to buy a new monitor. I’m fairly sure the EEPROM on mine blew when my GPU fried and it’s not getting connected propperly, this might save me. I appreciate the effort you put in researching this!
Is it somehow possible to fool your videocard, withou connecting any EEPROM? Just programatically?
I don’t think so.
As far as I know, this is possible on professional graphics cards like nVidia Quadro or AMD Radeon Pro.
In the graphics driver interface there are options to “emulate” the EDID from a file. This allows Windows to “see” the EDID described virtual monitor as a real one.
I want to activate audio on HDMI ARC (HDMI pin-14)
Any idea what EDID I should program into the 24C02?
Thanks!
I have no experience with this but according to this picture it needs to be discovered over CEC: