I wanted to do some laser cutting so I thought I will just order a laser and mount it to my 3D printer. I ordered one with most orders on ali: https://www.aliexpress.com/item/32562052620.html . When it came, the fun started.
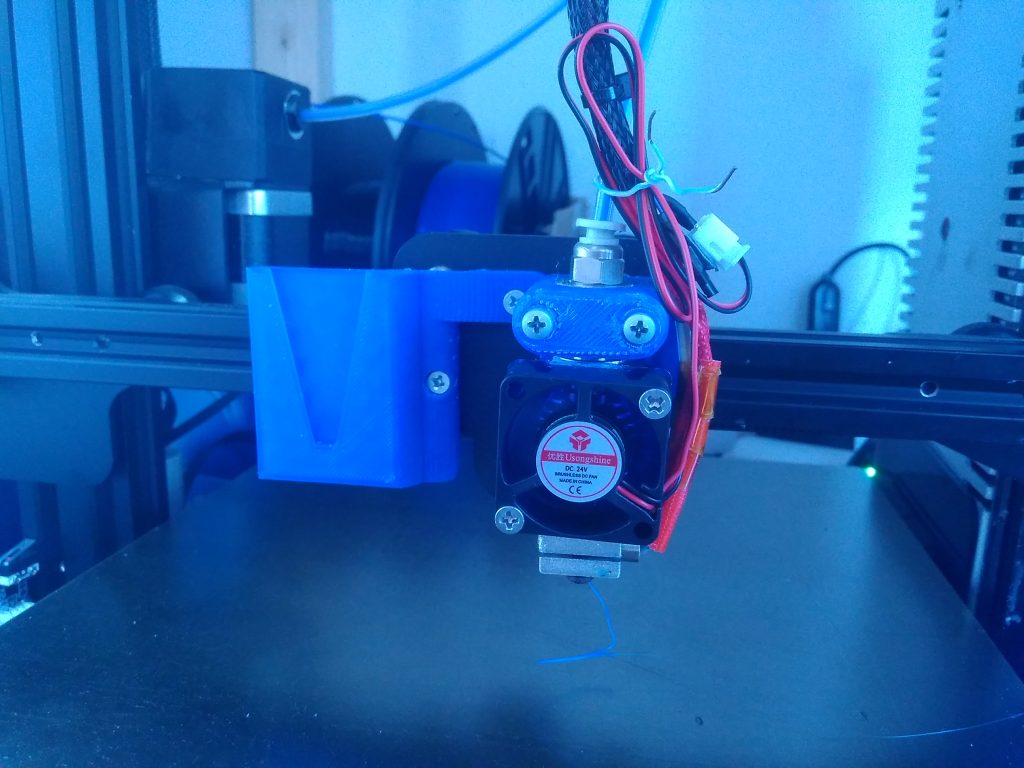
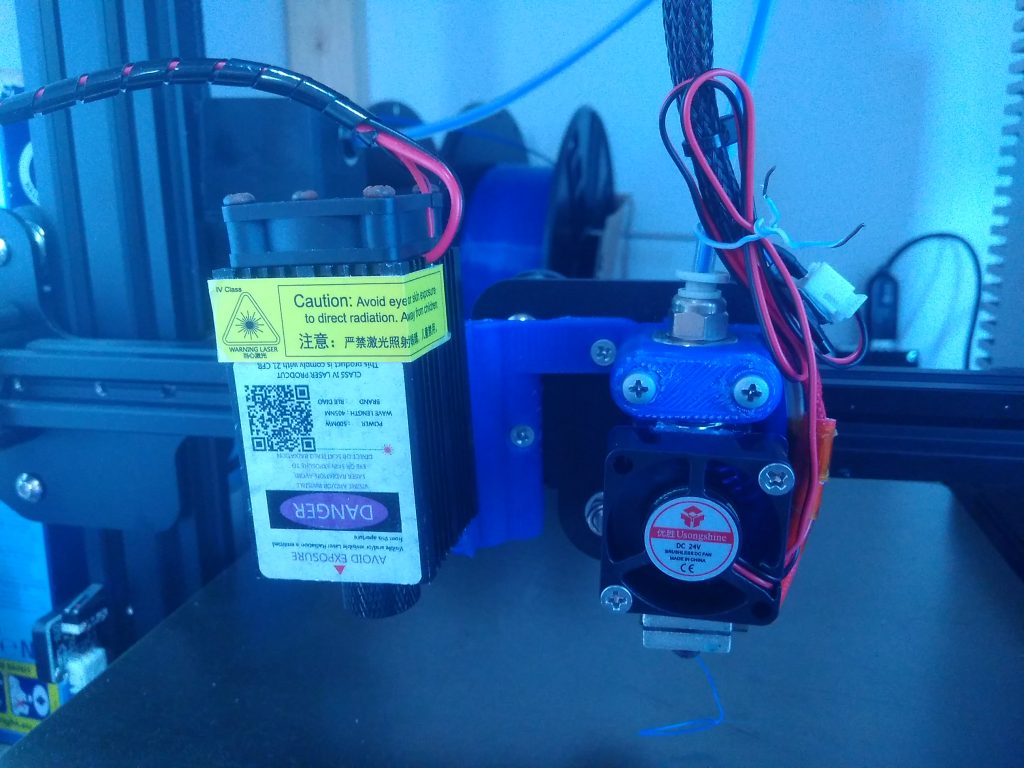
Mounting
This was probably the easiest part. I just went to Thingiverse and found this model: https://www.thingiverse.com/thing:2552134 . After printing it, it fitted mostly OK after adding some extra holes.
Wiring
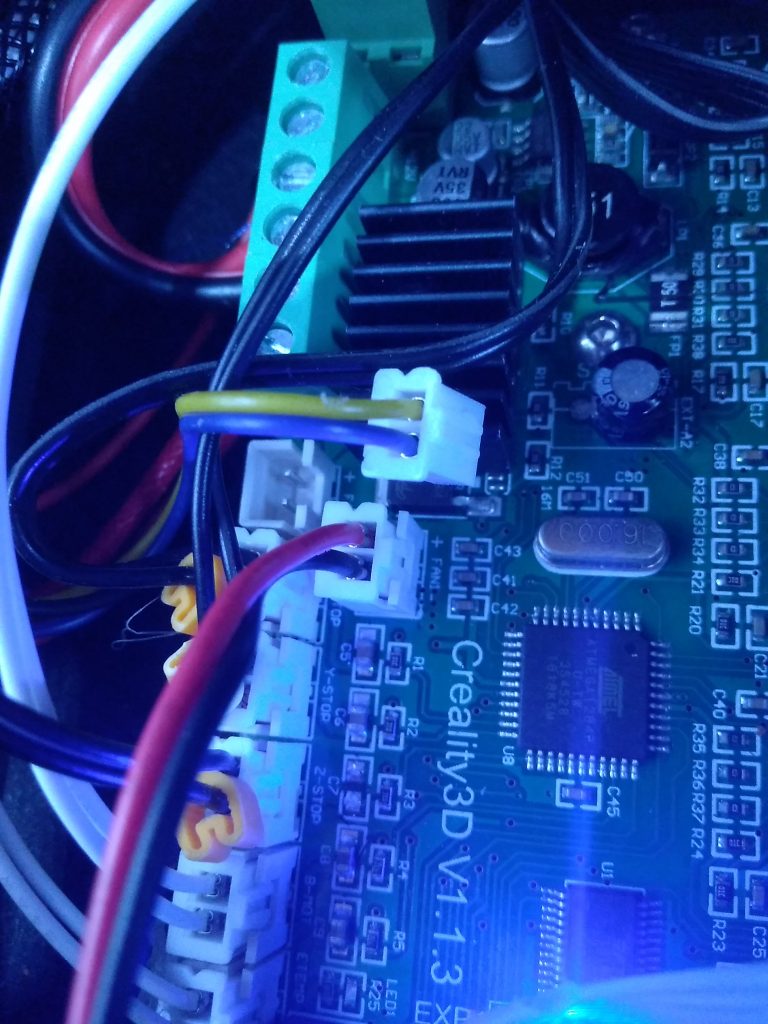
There are three connectors on the control board with different combinations of following signals:
1. VCC
2. GND
3. TTL/PWM
I chose the middle one with VCC and GND pins for connecting power. The laser requires 12V supply and my printer runs on 24V so I needed to use an external adapter. After making a proper cable
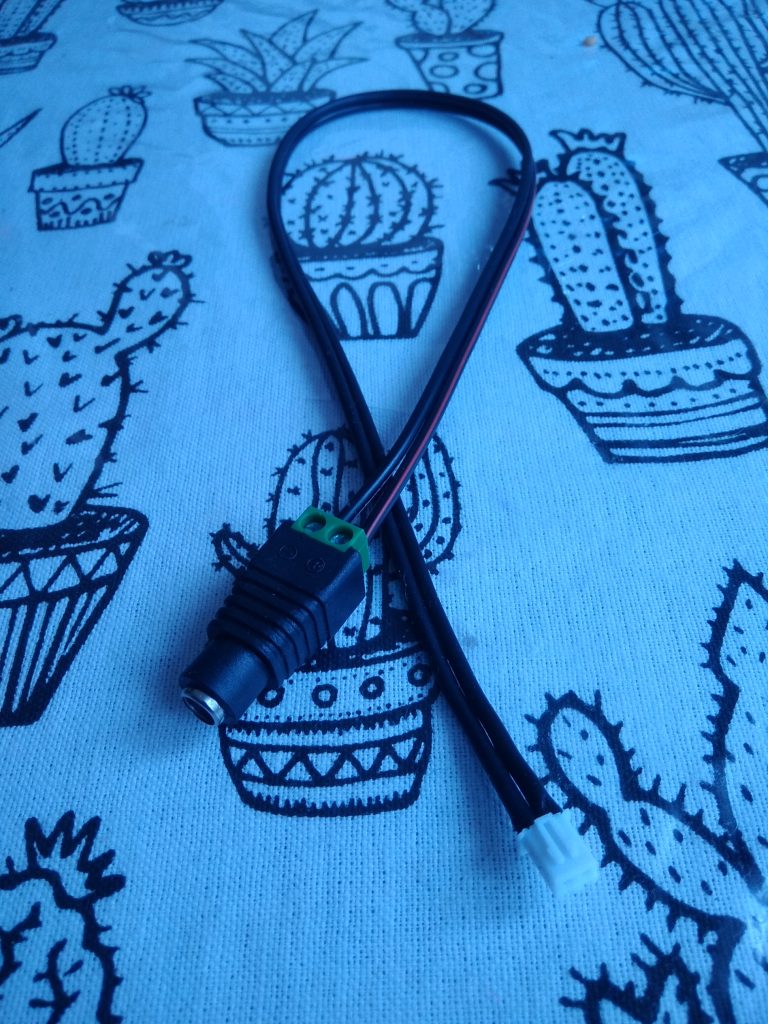
laser started to output full power. There is a button on the board to switch between low power (just a pointer) and full power for cutting. This is of course not suitable for using with automated cutting – so I needed to wire the TTL/PWM signal.
The usual way of controlling laser power on 3D printer is by using G-codes M106 and M107. These commands control the speed of print cooling fan which is not needed when cutting and it’s socket is about to be connected to laser PWM pin.
But let’s look on the output stage of my printer and input stage of the laser controller:
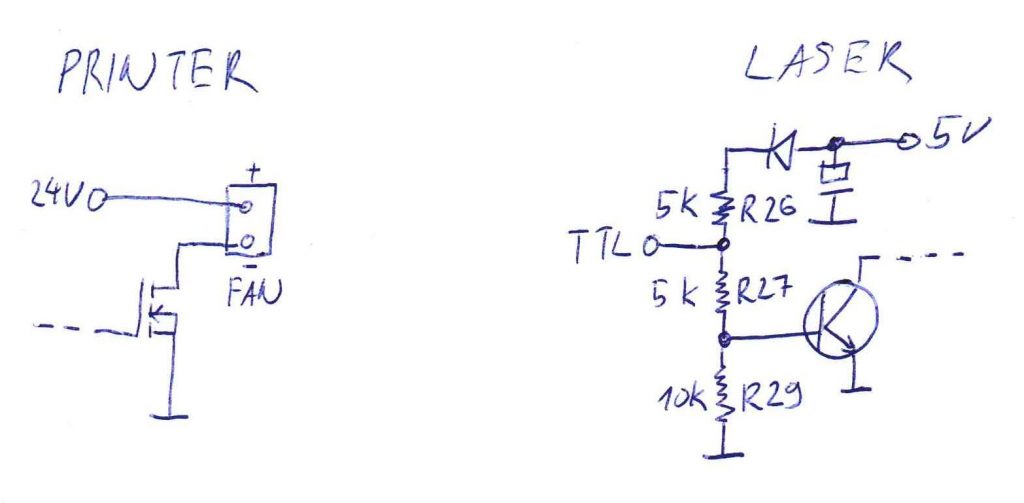
It’s obvious that the direct connection wouldn’t work so I modified it and added an adapter like this:
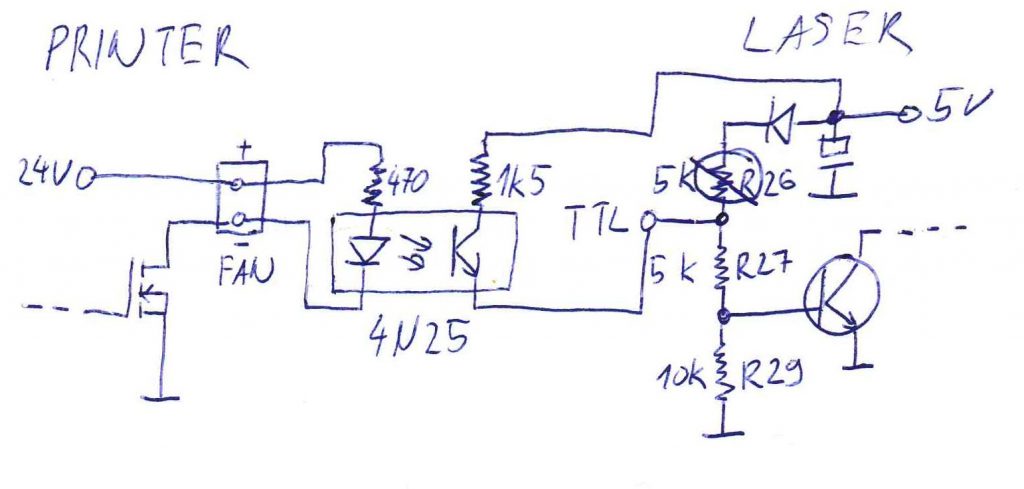
This solution has two advantages: no need to modify the printer controller board and separate grounds.


This has worked very well and I was able to control the power from G-code.
Arc support
Once I had a working laser unit, I focused the beam, downloaded a random G-code from the Internet, loaded it to my Octoprint with Klipper controller and run it. But nothing was cut. I found out that Klipper doesn’t support G2, G3 G-codes which are used by most G-code generators for cutting and engraving. After some googling I found out that luckily the support was added a few weeks ago so I just updated to the latest version, added a few lines into config and tried my print again and it worked. Later on, I’ve discovered and fixed one bug and printing was without issues.
Generating G-code
One of course doesn’t want to print downloaded designs only so I started to google how to create my own G-code out of some images or vectors. The first result was LaserGRBL which looks nice on first sight but is for Windows only.
Later I found a plugin for Inkscape (https://github.com/mbastl/bastl-laser-tool) which generates a gcode out of any picture. I did some fine tuning to the code and here are my settings:
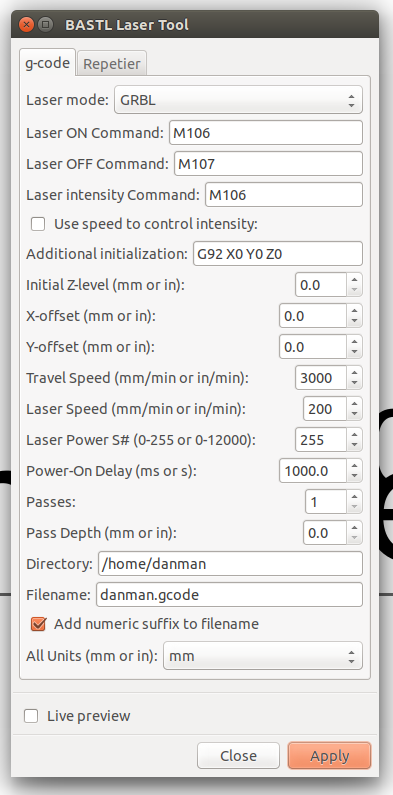
- Laser mode – you want GRBL, otherwise laser ON/OFF commands won’t be used
- Laser ON/OFF/intensity – these specify G-code commands to control the laser. We have connected our laser to the part cooling fan, so we will use M106, M107 as described earlier
- Additional initialization – I want to start the print from current laser position so I use G92 – described below
- Z-level, X,Y- offset – all zeroes – we position laser as described below
- Travel speed – speed of the laser movement when moving between curves in off state
- Laser speed – speed of the laser movement when cutting – this depends on the laser power and material being cut – you need to experiment with this value
- Laser power – maximum value that the laser power command accepts – in case of Klipper and M106 it is 255
- Power-on delay – in many printer controllers, the fan speed setting M106 is not tightly synchronized to extruder movement. This value ensures that the printer waits specified amount of time after powering the laser on to be sure it has enough time to start and only after that it starts following the cut route. You can experiment with this value – 1000ms is very safe value
- Passes – how many passes of cutting you want to do – useful when cutting thick material by layers
- Pass depth – length of Z axis movement after each pass
My process
To keep the possibility to manually adjust the starting point of the cut I use G92. I simply home the printer (G28), Set Z axis to my focus height (50mm), manually adjust X and Y to place where I want to start and then run the gcode. This allows me to position the laser manually and then it considers the manually set position as the origin (0, 0, 0 position). This way I am able to use the same gcode multiple times or to precisely align the object on the bed.
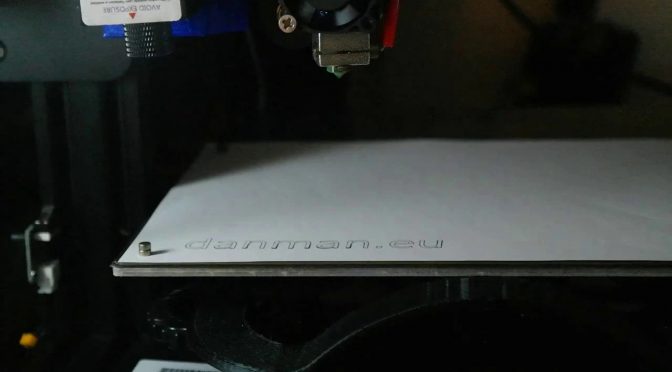
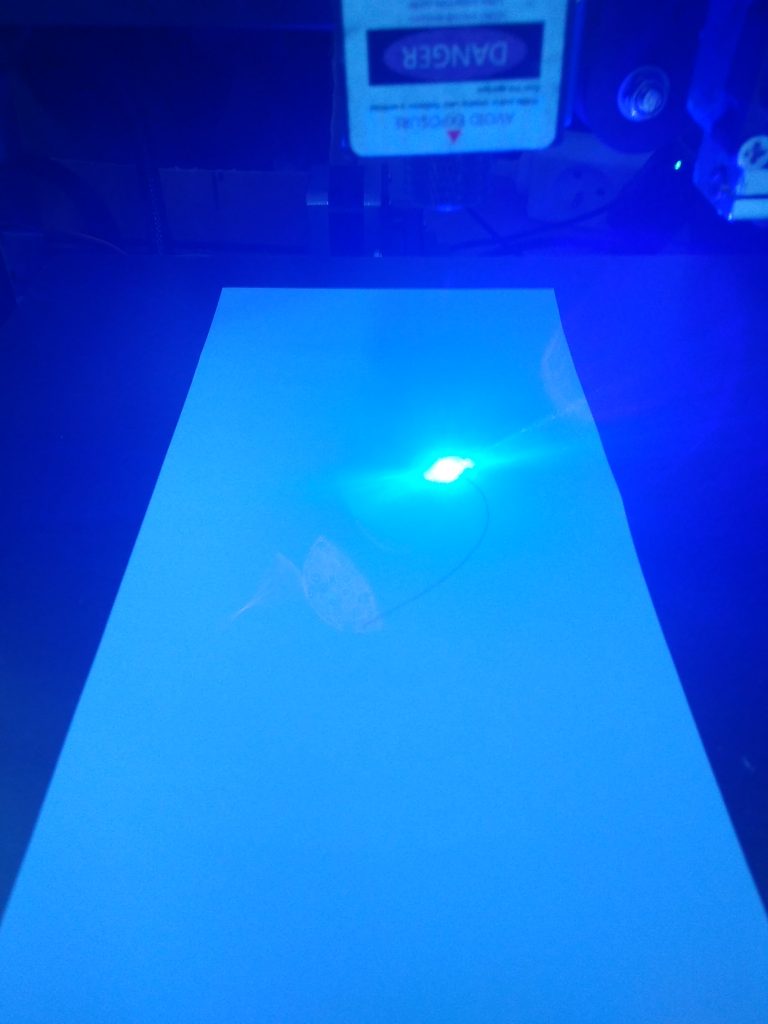
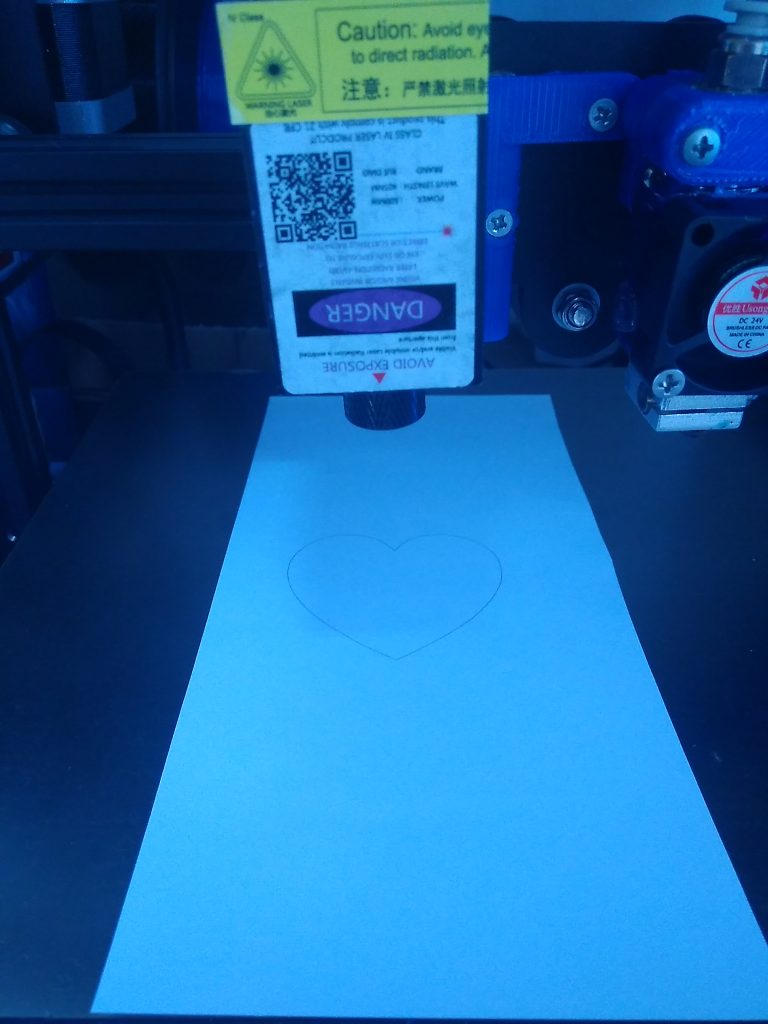
Result
Here is some example I cut.
In next article I’ll describe the creation of PCB stencils.
Links
- G-code viewer showing non-extrusion movements: https://ncviewer.com/
- How to install a plugin for Inkscape: https://inkscape.org/gallery/=extension/
- http://www.fucik.name/hw/laser/jfu_laser.php
- https://github.com/mbastl/bastl-laser-tool
Hey sir,
I’m very interested in how you managed to make that laser working.
I have the same problem as I want to connect a 30w laser (this one:
https://a.aliexpress.com/_B1nXZT) to my ender 3.
I can convert the 24 to 12v with no problem, but the ttl is my problem as the following fan is regulated with the negative wire.
Do you know how I can get a “positive ttl” ? I’m very waiting for your help as I can see you know what you’re talking about in electronic.
I’m not afraid about making a diy adapter with components if needed. 🙂
Your Module lists the Interface rather confusingly as,
“Input Interface:PH2.0-4Pin (+,-, PWM/TTL, Temperature), 3Pin (+,-, PWM/TTL) , 2Pin+2Pin (+,-) + (PWM/TTL,-)”
Are you certain you require a positive TTL?
The Author of this article is using a basic Low-side switch.
If you need to switch Positive, Research a High-Side switch, using a MOSFET.
i have the same problem
Hi,
Have you managed to run 30w laser with ender 3
Please share your experience
I have same question 🙂
Hi
Romain I am also facing the same problem. Any luck with the solution ?
Any luck with the solution ? Same problem! TTL negative in tronxy and pwm positive in NEJE! Help for solution!
The solution isolates the circuit, it will work with qq two two dictating the modulation
hello Danman,
I try to make an interface from the connector of the wire motor to the laser. My thinking : When this motor pushes the wire -> laser is on , when the motor is idle or in release the wire -> the laser is off. The advantage to realize the interface like this is to use the standard slicer . My problem : I have not solved how to recognize the motor rotation direction by analysis of the waves from the four wires… Have you ideas?
That is a very complicated route not worth the effort IMO.
HI Danman, Finally I managed the laser control with the signal of the fan ( very slow period around 8 hz ). The problem is now that the transition between ON to OFF is very slow ( the pwn goes not from 100% to 0% , it disappears slowly ). How do you manage this ? thx