As I am dealing with flashing SPI NANDs in WSON-8 package, I wanted to make my life easier by using a socket. You can buy one for about $6 on ali but I also wanted to try a different approach with pogo pins.
So I designed some PCBs. They came today:
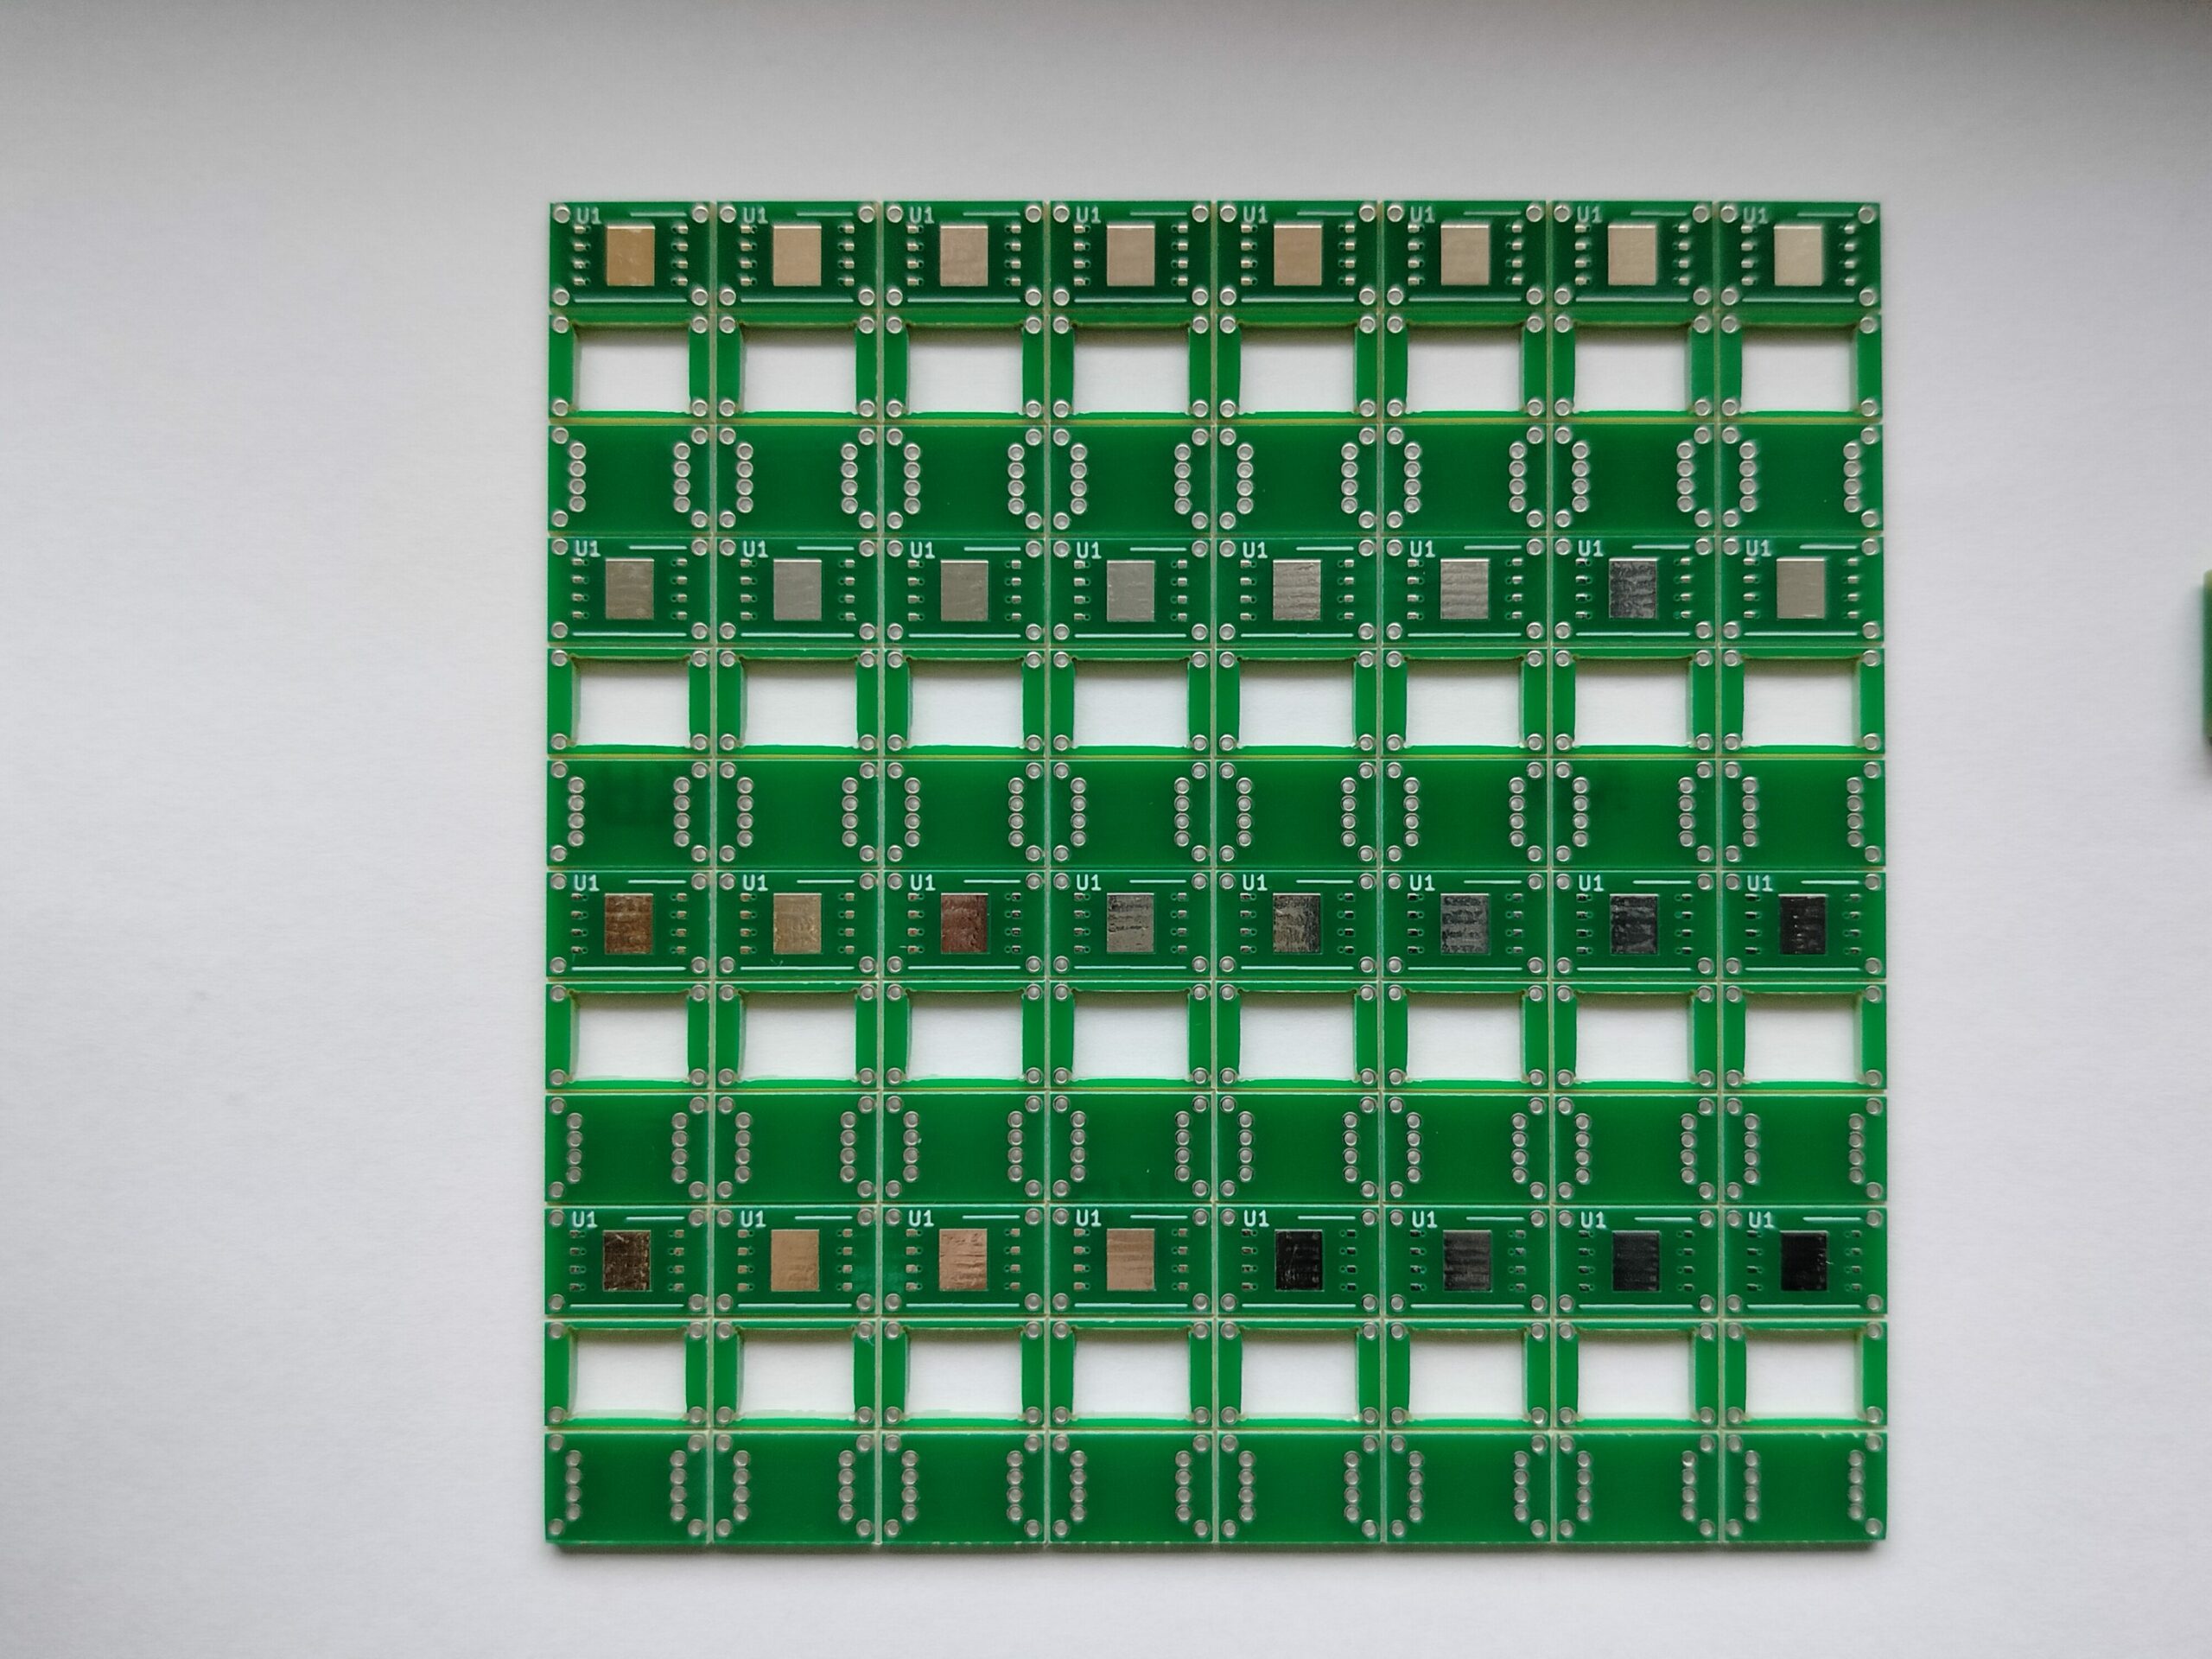
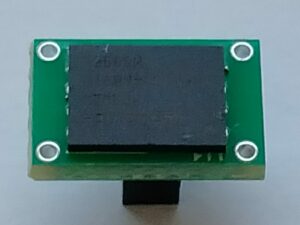
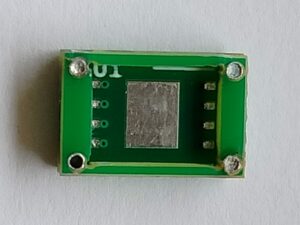
You can see there are three types of boards in the panel. First (topmost) – adapter with WSON8 on one side, 1.27mm pin header on the other.
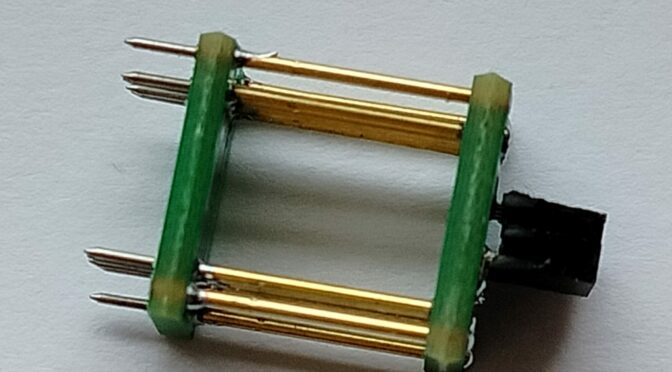
And the rest two for assembling the pogo pin adapter:
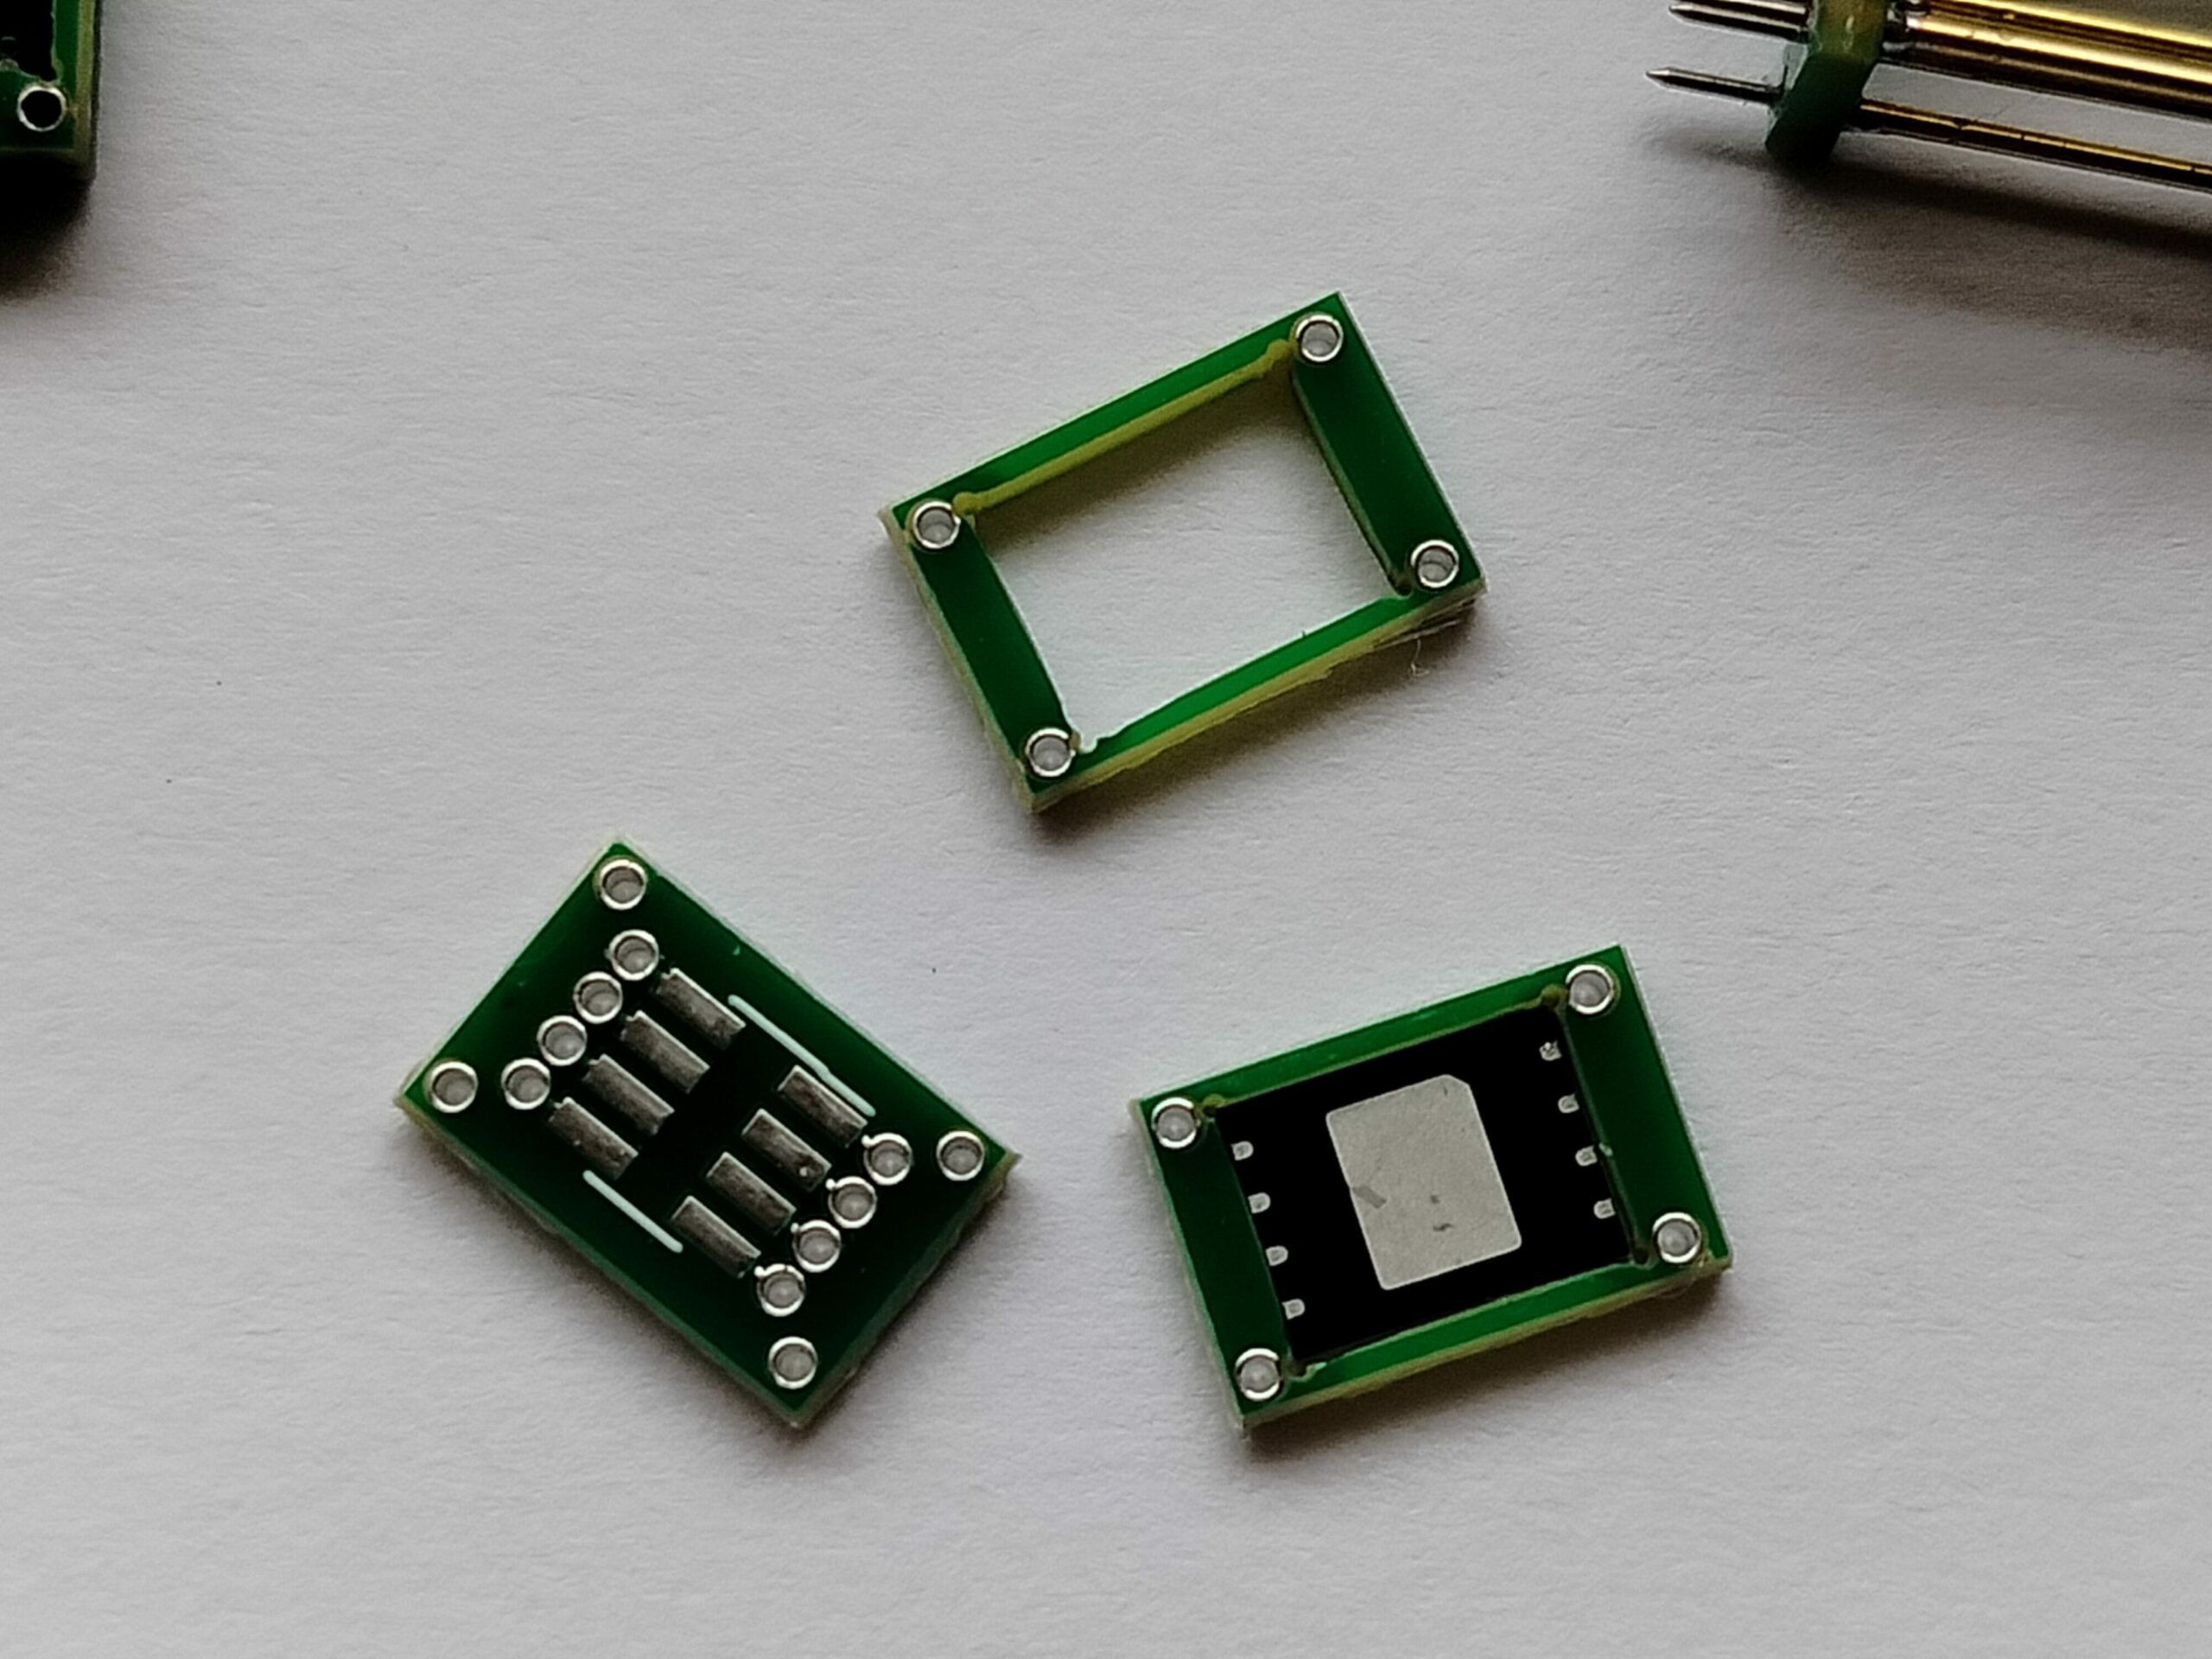
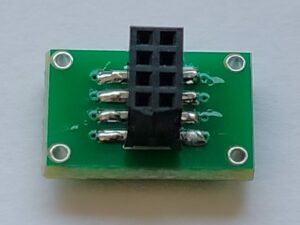
The base:
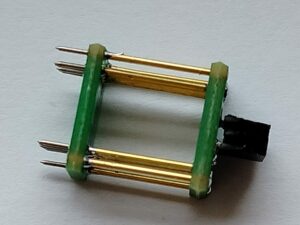
The top:
Assembled with a 3D printed clip. The chip goes inside to the cavity.
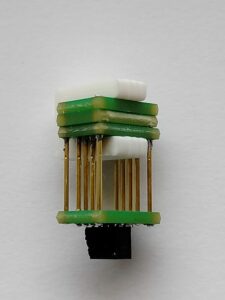
It is a bit loose because I was too generous with the tolerances but for a first test design of this kind I can call it success.
PCBs were kindly sponsored by pcbway.com and they came 10 days after ordering without any quality issues.
One thought on “DIY WSON-8 socket”